Finance & Accounting
Sub Category

Are you looking for immediate cash? If yes then, Apply for car title loans Barrie offered by premier loan Canada. We are here to help you with your financial problems. We don't check your credit history . You are still eligible for title loans. You can get your loan amount up to $45,000 on the same day of approval. You can convert the title of your Vehicle into cash that you need in emergency. Getting a title loan with us is hassle-free. You can keep using your car during the loan term. To know more about us you can visit our website or call us at +1(855) 965-1650
READ MORE - https://premierloanscanada.com/locations/barrie/

Hello Everyone, How are you doing today?
In today's video, we have a new instruction for you.
How to use the count if function in excel?
Without further hesitation, let's get started with this really simple video.
● One of Excel's statistical functions is to count if
● It's an excellent function to use if you have a range of cells and you want to count how many of them satisfy a certain criterion that matter if using a superb function.
Let me demonstrate now.
If the function is used, how is calculated?
Here is a data table with columns for the year and value.
● A value of 2005 has been entered in the criterion column as a representation of the year 2005.
● This value will be used as a variety of criteria.
Let's begin by typing the count if command.
The two-parameter range and the criterion cells that you wish to count depending on the criteria are the first two inputs for the count if function.
The standards by which to select which cells to count
Initial range
Standard criterion
We'll now enter the range A2 TO A7
(A2:A7)
● The criteria that will be applied to the range A2 to A7must now be entered.
● This criterion may be either a value or a reference to a cell that contains a value.
● Next, I will enter D2 2005.
● The count if value, will test each value in the range A2:A7. Check to see if its success in 2005
● Now that we have entered the two parameters, let's check the number of returns from the functions to see if the value one is displayed.
● This value will be determined by examining the values in the cells (A2:A7) and counting only those cells that contain the value 2005 in this instance.
Hence, A3 our count
This is how to use excel simple count in if function to return the value 1.
If you found this video helpful, please click the "like" button and subscribe to our channel to see more content like it.
Thank you for watching. If you would like to learn more about such topics, please let us know in the comments section below.
Please subscribe to our channel for such informational videos.
#DancingNumbers #MicrosoftExcel #ExcelTutorials #ExcelVideoTutorials
See all Excel tutorial videos here: https://www.youtube.com/playli....st?list=PLtVAMpwp7qC
💠Try the Free Trials For QuickBooks Desktop: https://bit.ly/dancingnumbers-desktop 💠
💠 Try the Free Trials For QuickBooks Online: https://bit.ly/dancingnumbers-online 💠
You can Connect with us on Social Media:
☛ Facebook: https://bit.ly/33SO5Mk
☛ Twitter: https://bit.ly/3lVfnb8
☛ Instagram: https://bit.ly/3oBuisq

Hello Everyone, Hope you are doing well.
Here is one quick tutorial about “How to Split First & Last Names in Excel”.
So, without wasting your time let’s know about it.
The first and foremost key aspect is the data which we have to split. As shown in the video, the full name of the student was already mentioned and the outcome needed was to split the name into the First and last name column.
You just need to follow these simple steps:
1. Select the data that you want to separate in your excel workbook.
2. Then click on the Data tab and Go to data tools.
3. Then choose the function “Text to Columns”. A pop-up window will appear.
4. You can choose the Delimited option. (if you are working on a table where items are separated with commas or a space)
5. Then, click on Next.
6. Now, you will get some lists of "characters with Delimiters" names in the table.
7. According, to the table, stated: The delimiter here is Space. (in case there are more than one delimiter, then you can choose accordingly)
8. Then on the right side of the screen, click on the box "Treat consecutive delimiters" as one.
9. You can cross-check the result at the bottom of the window "Data preview"
10. Then click on the Next option.
11. At the last, you can adjust the formatting.
Note: At the last, set the destination of the column (from which cell you want the result to appear, eg: In the given table the destination set is B2)
12. Now, click on finish.
Hope so, this information about splitting the first and last names in Xcel was helpful to you.
Do like this video and hit the subscribe button to stay connected for more such informational videos.
Please subscribe to our channel for such informational videos.
#DancingNumbers #MicrosoftExcel #ExcelTutorials #ExcelVideoTutorials
See all Excel tutorial videos here: https://www.youtube.com/playli....st?list=PLtVAMpwp7qC
💠Try the Free Trials For QuickBooks Desktop: https://bit.ly/dancingnumbers-desktop 💠
💠 Try the Free Trials For QuickBooks Online: https://bit.ly/dancingnumbers-online 💠
You can Connect with us on Social Media:
☛ Facebook: https://bit.ly/33SO5Mk
☛ Twitter: https://bit.ly/3lVfnb8
☛ Instagram: https://bit.ly/3oBuisq
Welcome to Everybody.
Hello, How are You?
Another Short Instruction is Available Now for the Video.
How to Autofit Columns and Rows in Excel?
Without Further Hesitation, Let's begin this Tutorial, Which Should be Rather Simple.
Now, to Automatically Resize a Column to Accommodate its Largest Entry
● Choose the column
● Double-click on the relevant column's right board.
● And as you can see, the specific column has been changed to have the widest column entry.
● Here are a number of columns.
● Right-click any column and choose all the columns you want to select.
● This is it; do now autofit to all columns.
● Click the "Select All" button now.
● Each worksheet cell is selected by this tiny triangle.
● Once all columns have been selected,
● Double-click on all of the worksheet's right-to-order columns as well as all of the columns.
● As you can see, all of the columns in the worksheet have been automatically changed.
● Another method of automatically fitting every column in the selection
● The columns are under the "Home" tab.
● Select auto-fit column width from the format menu by clicking.
● As you can see, the columns have been changed automatically.
Autofit rows can be done using the same method
● Modifying a row's height to match that of a certain row
● Choose that row.
● When you click the row's bottom, the height of the row is changed to match the content's text size.
● Double-click on any row's bottom border to choose a series of rows.
● The decision, Here is
● Another approach to furnishing each worksheet
● Choose the All button within the tiny triangle
● Format - pick autofit row height in the home tab
Here it is, as it stands.
Is it easy?
Please hit the like button and subscribe to our channel if you find this video to be useful.
If you're Interested in Learning more, Keep Reading.
Please Share Your Feedback in the Space Below.
Please subscribe to our channel for such informational videos.
#DancingNumbers #MicrosoftExcel #ExcelTutorials #ExcelVideoTutorials
See all Excel tutorial videos here: https://www.youtube.com/playli....st?list=PLtVAMpwp7qC
💠💠Try the Free Trials For QuickBooks Desktop: https://bit.ly/dancingnumbers-desktop 💠💠
💠💠Try the Free Trials For QuickBooks Online: https://bit.ly/dancingnumbers-online 💠💠
You can Connect with us on Social Media:
☛ Facebook: https://bit.ly/33SO5Mk
☛ Twitter: https://bit.ly/3lVfnb8
☛ Instagram: https://bit.ly/3oBuisq

Greetings to all.
Hello, How Are You?
We're Here Right Now.
Without any of the Tutorials in the Current Video.
How to make a chart or graph in excel?
Without further hesitation, here is a simple tutorial that is free.
Let's start now.
Let's get started by looking at several types of charts.
Consequently, we will now examine several types of graphs and charts.
My Chart, a Column Chart, and a Pie Chart.
We now have the data necessary to make a Pie Chart.
● So, I'll choose the data first.
● Go to the section chart and click insert.
● Insert my sheet's pie chart by choosing that option.
There are other chart design options available, but I'll only select 1 at this time because it looks great for the presentation.
● Now, you can add labels by clicking the plus symbol.
● Now, double-click on the empty screen if you like the larger size in the front.
● As you can see, this is the Open Format Dialog Box.
● There is a choice here right now.
● The angle of my explosion's initial slice
Currently, as you can see, it is moving.
● You are welcome to bring any type of slice.
● Adjust the slice's angle so that you can see.
● In order to use this line, please separate it.
● I'll then choose this option, as you can see.
● I'll choose this option if you want the slices split because you can obtain them that way.
● So, this is how the long-cut method works.
● I'll now demonstrate a shortcut that allows you to just click on the object you wish to split and then drag it.
● It will split apart.
● This was the quick approach.
Next, we will see how to create a bar and column chart?
That the information is being used:
● I'll choose all the information I wish to use.
● then select insert.
● Select "Column Chart Options" here.
● You can now select the straightforward column chart.
● Press "OK".
● And that's it.
● Personalize the information to meet your needs.
● The labels, colors, and designs are all customizable.
● And if you'd like, you can adjust the facts shown to meet your needs.
● As you can see, if you right-click on the column chart, a change in the chart type menu will appear.
● Click the bar chart now.
● You can modify it in accordance with your needs.
● Moreover, as you can see.
● Now, it is a bar chart.
● Bar charts simplify a lot of the effort.
● The bar chart makes the data in the table very visible.
Then, we'll show how to create a line graph for that data. I'm using this data again, so I'll choose it before clicking "Insert," where I can see the line chart choice.
I'll thus click it and use it in a basic way.
You can see a line graph here.
So, guys, that's it for today.
Here are a few quick and easy methods for making a pie chart, column, or line chart.
If you think this video is useful, please hit the "Like" button and subscribe to our channel for more of these kinds of content.
Please let us know in the comment box below if you'd like to learn more about these subjects.
Please subscribe to our channel for such informational videos.
#DancingNumbers #MicrosoftExcel #ExcelTutorials #ExcelVideoTutorials
See all Excel tutorial videos here: https://www.youtube.com/playlist?list...
💠💠Try the Free Trials For QuickBooks Desktop: https://bit.ly/dancingnumbers-desktop 💠💠
💠💠Try the Free Trials For QuickBooks Online: https://bit.ly/dancingnumbers-online 💠💠
You can Connect with us on Social Media:
☛ Facebook: https://bit.ly/33SO5Mk
☛ Twitter: https://bit.ly/3lVfnb8
☛ Instagram: https://bit.ly/3oBuisq

How are You doing, Everyone?
In Today's Video, We have yet Another Quick Tutorial.
This will be a Rather Simple Tutorial with Shortcuts, so without Further Hesitation, Let's begin.
Now that you can see an Excel sheet on the screen, you should know that it is a password-protected sheet.
● Enter the current password in the excel when Command for the password
● Click OK
As You can see Excel Opens the Workbook
● Now click on file
● Click on info
● Next click choose protect workbook
● Click Encrypt with Password Excel Displays in the drop-down list.
● The default password for an encrypted document window is the current password for the workbook.
● Take away the password security
● Delete the password
● Click "ok" and then "save."
● By doing this, the workbook's password security will be removed.
● Now close the file and launch it once more.
You can see that Excel is protected with a password.
Is it not easy?
Hit the like buttons and subscribe to our channel for more such videos if you find this video useful.
If you would like to learn more about such topic, Please comment below and let us know
I appreciate you watching.
Please subscribe to our channel for such informational videos.
#DancingNumbers #MicrosoftExcel #ExcelTutorials #ExcelVideoTutorials
See all Excel tutorial videos here: https://www.youtube.com/playlist?list...
💠💠Try the Free Trials For QuickBooks Desktop: https://bit.ly/dancingnumbers-desktop 💠💠
💠💠Try the Free Trials For QuickBooks Online: https://bit.ly/dancingnumbers-online 💠💠
You can Connect with us on Social Media:
☛ Facebook: https://bit.ly/33SO5Mk
☛ Twitter: https://bit.ly/3lVfnb8
☛ Instagram: https://bit.ly/3oBuisq
Greetings and Welcome Back to Our Channel, Everyone!!
Therefore, I’ll be showing you How to Highlight Duplicates in Microsoft Excel in today’s video.
So let's get going.
The Simplest Methods to Identify Duplicates in Microsoft Excel are listed below.
● Choose the whole duplicate column.
● The style sections, select conditional formatting now.
● Next, select duplicate values by tapping on highlight cell rules.
● The duplicate values are now highlighted in the desired colors, as you can see.
● These are the ones that are happening more frequently.
● Additionally, you have the option to select the highlight's color from the text, the cell, or both.
● You know that there is a shortcut you can take to finish it faster.
● One by one, press each shortcut key: Alt +H+L+H+D one by one
Removing the Duplicates: A Guide
● First, select Data.
● Choose the Column
● then select "Remove Duplicates" and then search
● It is Disappeared.
Share what you want to see next and let me know if this video was helpful to you in the comments.
Please subscribe to our channel for such informational videos.
#DancingNumbers #MicrosoftExcel #ExcelTutorials #ExcelVideoTutorials
See all Excel tutorial videos here: https://www.youtube.com/playlist?list...
💠💠Try the Free Trials For QuickBooks Desktop: https://bit.ly/dancingnumbers-desktop 💠💠
💠💠Try the Free Trials For QuickBooks Online: https://bit.ly/dancingnumbers-online 💠💠
You can Connect with us on Social Media:
☛ Facebook: https://bit.ly/33SO5Mk
☛ Twitter: https://bit.ly/3lVfnb8
☛ Instagram: https://bit.ly/3oBuisq

Greetings to all
I'm glad you're back on our Channel.
I will also clearly show how to create a histogram chart in Microsoft excel in today's video.
You can use a histogram as a graph to see how frequently an event occurs within a certain range.
I'll demonstrate how to make a histogram in excel in this video.
Accordingly, let's begin the tutorial.
The simplest steps to make a histogram chart are listed below:
● Choosing these two columns
● Click the insert tab now.
Then select the insert statistical chart button
● When you click on the histogram, you can see the chart and customize the histogram chart.
● By selecting the format data series with a right-click from the vertical axis
● You can select the format data of this chart.
How to Change the Designs, Colors, and Layout in the Histogram Chart?
● You can choose from a variety of color options, chart types, and quick chart layouts in the top left corner.
● You can simply change the chart type to give it a more unique and appealing presentation.
● Go to the change chart type options first, where you'll find a good amount of date suggestions for ways to make it more interesting and extraordinary.
This video ends here anyway.
If you enjoyed this video, I hope you will subscribe to our channel for more of these educational videos.
If you want to see more of these topics, let us know in the comments section below.
Please subscribe to our channel for such informational videos.
#DancingNumbers #MicrosoftExcel #ExcelTutorials #ExcelVideoTutorials
See all Excel tutorial videos here: https://www.youtube.com/playlist?list...
💠💠Try the Free Trials For QuickBooks Desktop: https://bit.ly/dancingnumbers-desktop 💠💠
💠💠Try the Free Trials For QuickBooks Online: https://bit.ly/dancingnumbers-online 💠💠
You can Connect with us on Social Media:
☛ Facebook: https://bit.ly/33SO5Mk
☛ Twitter: https://bit.ly/3lVfnb8
☛ Instagram: https://bit.ly/3oBuisq

HI TO ALL OF YOU
I'm glad you're back on our channel.
I'll demonstrate this in today's video.
HOW TO CHANGE THE DATE FORMAT IN EXCEL
Let's start now:
1. To format a date column, choose it
● Click on ctrl +1 or command +1
2. From the categories
● Select Date
3. From the type menu
● Choose the date format you want
Additionally, a sample of the format is provided here.
You can modify the format to use any language you choose.
Now, how to develop a unique date format option for Excel
● In a category menu section
● Select custom
To change the date format, click here.
● Go to custom and type that format code
● Enter this in the provided space to see
It was successful.
Are you aware that there are various codes for the date format?
Let me give you a summary of some of them
Consider adding a date format like this.
Therefore, you will format it as follows:
1. For 01-12months in number=nm
2. For Date 01-30=dd
3. Year as 2000- 2022=yyyy
Please search Google for additional such codes.
This video ends there.
I sincerely hope this is useful to you and that you enjoy the video. Subscribe to our channel to watch more videos with similar information.
If you want to see more of these topics, let us know in the comments section below.
Please subscribe to our channel for such informational videos.
#DancingNumbers #MicrosoftExcel #ExcelTutorials #ExcelVideoTutorials
See all Excel tutorial videos here: https://www.youtube.com/playlist?list...
💠💠Try the Free Trials For QuickBooks Desktop: https://bit.ly/dancingnumbers-desktop 💠💠
💠💠Try the Free Trials For QuickBooks Online: https://bit.ly/dancingnumbers-online 💠💠
You can Connect with us on Social Media:
☛ Facebook: https://bit.ly/33SO5Mk
☛ Twitter: https://bit.ly/3lVfnb8
☛ Instagram: https://bit.ly/3oBuisq

Welcome to our Channel..
Today we are Welcome to Choose..
How to use Concatenate in Excel...
What is the Concatenate Formula and Why do we use it?
We can use it to combine names.
30 values are joined by the concatenate function, which outputs the results as text.
You just want the name' information. If you want to combine the data from the last and first main columns in one cell, doing so by hand would take a lot of time. We can use the concatenate function to automatically combine these data rather than manually doing so to finish the task right away.
Let's begin the instruction of tutorial
● As you can see, I have written the first name and last name in these two columns.
FULL NAME
Now as you can see there is no gapping between so now we will type
=CONCATENATE (A2,““, B2)
If you want to add both the first and the last name type this formula to get a full name with the gap
HYPHEN
If you want to use a Hyphen simply use the formula
= CONCATENATE (A2, “-”, B2)
FULL NAME CAPITAL LETTER
If you want to add your full name in capital letter
You can add this formula
=upper (CONCATENATE(A2,“ “,B2))
FULL NAME LOWER CASES
And the same method goes with the full name with the lower cases
=lower CONCATENATE(A2,“ “, B2))
A2 double code open and double code close comma B2 bracket Close
And here it goes the full name with the gap
SHORTCUTS
=A2 & “ “ & B2 and Start
That is in this video..
I hope you find it is helpful.
Also if you like this video.
Please subscribe to our channel for such informational videos.
#DancingNumbers #MicrosoftExcel #ExcelTutorials #ExcelVideoTutorials
See all Excel tutorial videos here: https://www.youtube.com/playli....st?list=PLtVAMpwp7qC
💠💠Try the Free Trials For QuickBooks Desktop: https://bit.ly/dancingnumbers-desktop 💠💠
💠💠Try the Free Trials For QuickBooks Online: https://bit.ly/dancingnumbers-online 💠💠
You can Connect with us on Social Media:
☛ Facebook: https://bit.ly/33SO5Mk
☛ Twitter: https://bit.ly/3lVfnb8
☛ Instagram: https://bit.ly/3oBuisq

As you can see, this will be a simple tutorial shortcut, so without further hesitation, let's get started.
This is the data that will be the user for the line graph.
You have to follow the below mention steps:
1. Go to insert in the chart section
2. Click insert line or area chart
3. Go to the left corner and click on the basic line graph
4. Blank box right over here
5. Click on it and then select data
6. Select data in the line graph
7. Take a look at the left side
8. Click on add
9. Click on the title
9. Click on all the values that we need for the line graph
10. Series value click here
11. Click OK
11. Now click and drag on the values that we want to put in the line graph
12. Now we have to edit the horizontal category access label right here
13. Click on edit
14. Click on the first column and drag the way down to the end
16. I have all of the labels right here
17. Click on open
So this is how we create a simple line graph in excel
If you find this video useful, click the like button and subscribe to our channel to see more such videos. Please let us know in the comments section below if you're interested in learning more about these topics.
We appreciate you watching.
#linegraph #excel ##excelpiechart #excel tutorial #areachart

CruisePro is a top provider of B2B White label
Travel Portal, where an online travel agency can onboard travel representatives using b2b travel portal.
travel negotiators take various logins
of the b2b travel portal to serve their customers in the best possible way.
Unlimited negotiators can register and
you can earn a very good commission using travel portal solution b2b white
label travel portal.

Travelopro provides Central Reservation System to
manage hotels inventory and reservations grow up you direct sales with our CRS
booking Software. Travelopro is an Award Winning Travel Software
Company , delivering central Reservation system for hotels, car rentals,
transfers and other services online.

Travelopro is a leading Travel
Portal Development Company in the world. Travel API provider
helps travel agents to get access to any type of travel information such as,
hotels, flight, transfers, etc. all in one place.
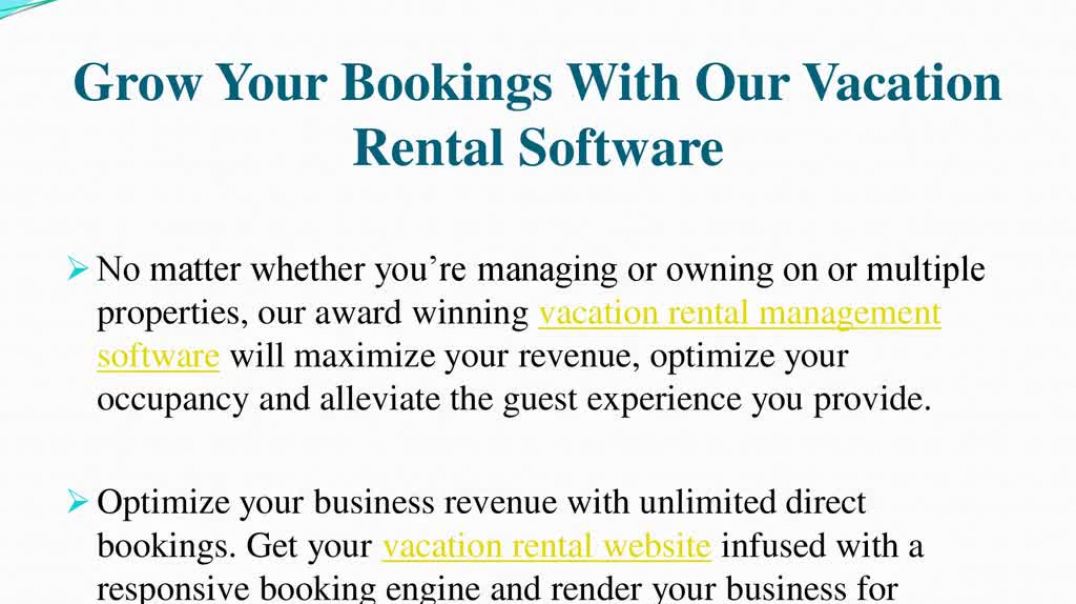
Vacation Rental Software is a comprehensive software
that automates all the operations of any type and size of a vacation, rental,
besides assisting vacation rental managers in imparting remarkable experience
to guests.

Travelopro provides Amadeus
reservation system integration services to hotels, airlines, vacation
packages, and car rental all around the globe. It enables agents to offer
complete and full-service travel itineraries in a timely and effective manner.
By integrating the Amadeus booking
portal login into your travel site, you receive fast access to over 500,000
hotels and over 900 airlines in over 50 countries.

Online booking
software tools has made the life of travelers quite easy and hassle-free.
Traveling has become a relatively simple and cost-effective activity as a
result of the emergence of the online booking engine provided by travel agents
worldwide via travel technology.

Our Flight Search
Solutions are designed to help you bring relevant search results to your
travelers, every time. You pick the content to sell, decide which capabilities
to enable and have the choice in how to establish your unique flight search
engine.

Content Management System (CMS) development is aimed
at implementing tailored solutions that facilitate creating, storing,
organizing, modifying, and publishing web content.

Travelopro is a Travel
Software Development company for B2B and B2C Travel Portals which has a
reputation, goodwill and cooperative attitude in light of its work.

If you’re having difficulty managing corporate
travel, your’e probably looking for ways to streamline everything from orders,
price offers, and bookings to expense management and reporting.

Travelopro is the B2B Travel
Portal development Company that delivers the best B2B Travel Portal with
third-party API Integration of flight booking and hotel booking for travel
agencies. Our B2B module is an essential tool for automating your sales across
all B2B channels – partner agencies, distribution networks, and corporate
clients.
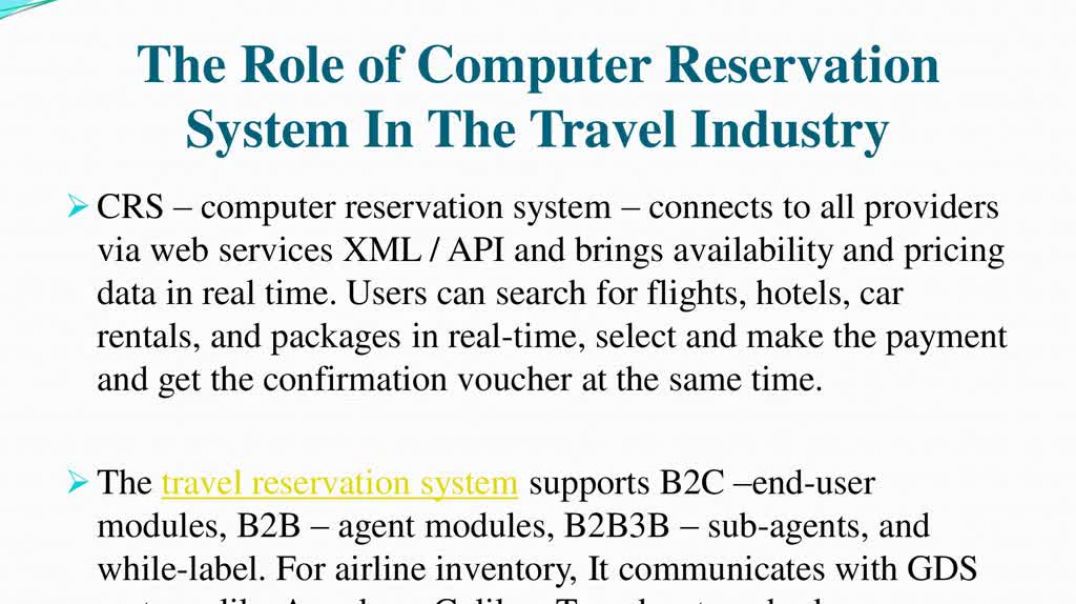
A Computer reservation system (CRS) is a web-based
software used by travel agencies and travel management companies to access and conduct
transactions relating to air travel, hotels, car rental, and other activities.
One of the most extensively utilized technologies in the travel and tourism
industry is the computer reservation system (CRM). It has completely
transformed the tourism industry.

GDS (Global Distribution System) is a worldwide
computerized booking network which is used as a single point of access for
accommodating airplane seats, hotel rooms, car rentals and other travel
products for travel agents, online booking websites and major corporations.

Travelopro XML API
Integration Solution
offers end-users reliable, real-time, and quick hotel booking information.
It also assists customers in locating the best hotel discounts for their next
travel. We provide a hotel booking system for travel agencies or DMCs who
operate in the B2B and B2C markets.

Galileo is a Global Distribution System (GDS), also
known as a CRS (Computer Reservation System) in the travel industry. It is owned by travel port
and is part of the entire portfolio, which includes the Apollo and Worldspan
systems. The Galileo GDS allows you to book hotel rooms, airline tickets, rail
tickets, cruises, and car rentals.

Travelopro is a leading travel technology company,
provides pre-integrated Amadeus reservation for airlines, hotels, car rentals,
holidays all over the world.

Travelopro is the leading Travel Software
Development Company that provides
Car Rental System to the travel agents, tour operators, and travel companies
across the world.
Excel is widely used, and many small tasks can be accomplished in the program. With macros, it is possible to automate tasks that take a long time or multiple steps to complete. By using Excel's options, you can easily set up macros for any task, such as copying and pasting information from one document to another.
Macros are a great way to automate your work. You can use them to perform common tasks quickly and easily. For example, you can create a macro to automatically save your work every time you close Excel. Or, you can create a macro to print your work. Macros are a great way to improve your productivity.
If you have been waiting to learn how to enable macros in Excel, then this is the place to start.
#ExcelMacros #MacrosinExcel #EnableMacrosinExcel #MicrosoftExcel #DancingNumbers #DancingNumbersOnline #AccountingSoftware #Accounting #Saas
In this quick tutorial, we will give you a complete guide on how to enable macros in Excel. We assume no prior knowledge and start at the very beginning by helping you set up your company file and preferences. After that, we move on to teach you how to enable macros in Excel.
Along with different ways in which you can enable Macros in Excel. Here, this tutorial has all the methods:
#howtoenablemacrosinexcel
#enablemacrosinexcel
#macrosinexcel
#whataremacrosinexcel
#howtousemacrosinexcel
#howtowritemacrosinexcel
#howtocreatemacrosinexcel
#editingmacrosinexcel
#enablemacrosinexcel
#usingmacrosinexcel
#whatismacrosinexcel
#viewmacrosinexcel
STAY IN TOUCH!!
We are sure now you are an expert on enabling macros in Excel. If you found this video efficient and if you really enjoyed it, then please give a "thumbs up" and "subscribe" to our channel for more such videos.
Don’t forget to comment if you wish to see more such videos.
Dancing Numbers supports XLS, XLXS, and many more file formats.
However, if you still have any doubts, then you can easily connect to Dancing Numbers without taking much of your time.
And if you want to learn about Quickbooks, then you can connect to https://intuit.me/3la0dRj. Once you connect Quickbooks Online to Dancing Numbers Online, you can easily access your data and avail the benefits of import, export, and deletion services.
Just browse our entire library and hit the like button for regular updates. Don’t forget to comment if you wish to see more such videos.
💠💠Try the Free Trials For QuickBooks Desktop: https://bit.ly/dancingnumbers-desktop 💠💠
💠💠Try the Free Trials For QuickBooks Online: https://bit.ly/dancingnumbers-online 💠💠
You can Connect with us on Social Media:
☛ Facebook: https://bit.ly/33SO5Mk
☛ Twitter: https://bit.ly/3lVfnb8
☛ Instagram: https://bit.ly/3oBuisq

What is flight booking software?
Travel industry is growing with a rapid speed with
the increased demand of consumers. Not only do car, bus, train are
manufacturing travel soothing, but flight as well.
Though flight is little costlier than alternatives,
people seek to save time and reach the destination sooner on time. Considering
this, flight booking software is what catches the observation.

TripFro provides B2B Travel Portal, Online B2B Travel Portal, Best B2B Travel Portal to travel agencies, tour operators and travel companies globally.

Inventory management helps companies recognize which and how much stock
to order at what time. It tracks inventory from acquire to the sale of goods.
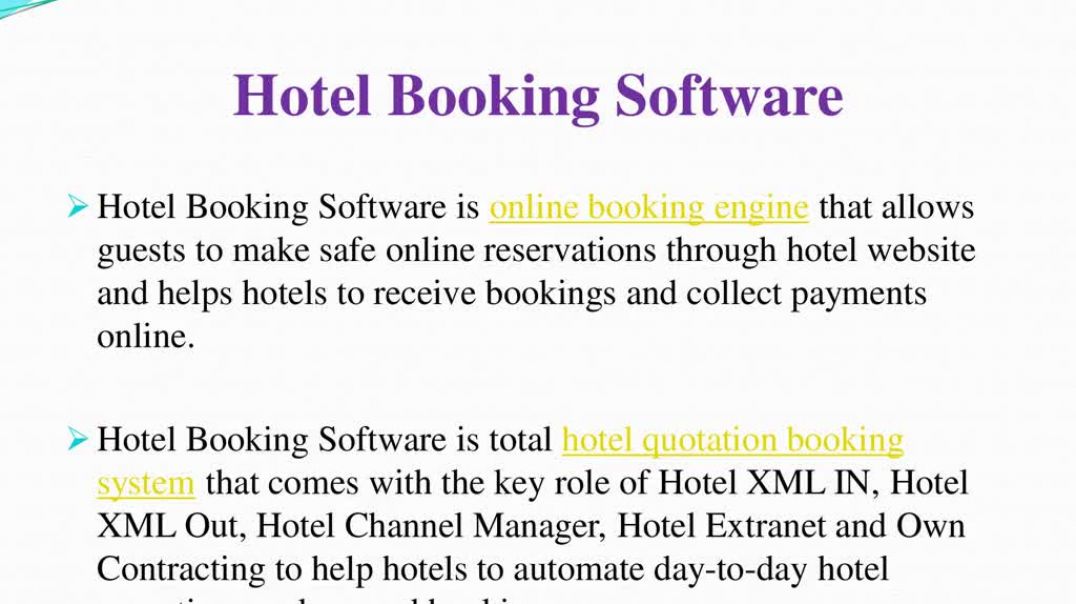
A hotel booking software allows visitors to schedule
and pay for their own stays via a safe portal. They can complete the transaction from the convenience
of their own office or home room.
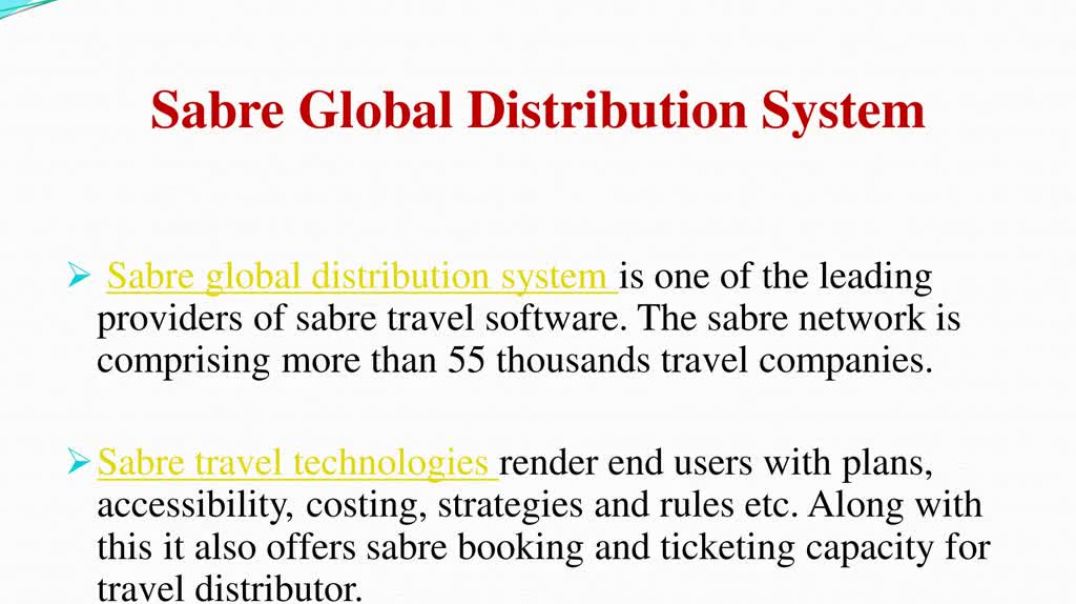
The Sabre Travel web provides a great solution for the travel sector. Sabre Travel Booking System permit businesses such as travel agencies, airline, hospitality, car rental and travel executors.

Are you looking to Delete any Customer from Your QuickBooks Online Account?
Deletion of customers can be done because of any reason like the customers are no longer required, incorrect customer information, and many more reasons. the process to delete customers from QuickBooks Online using Dancing Numbers Online is easy. just a few clicks and the automatic process starts to delete according to your selected filtered requirements. Follow the video to get detailed steps to delete the customers. for any issues get in touch with Dancing Numbers experts.
STAY IN TOUCH!!
And don't forget to comment if you wish to see more such videos.
💠💠Try the Free Trials For QuickBooks Desktop: https://bit.ly/dancingnumbers-desktop 💠💠
💠💠Try the Free Trials For QuickBooks Online: https://bit.ly/dancingnumbers-online 💠💠
You can Connect with us on Social Media:
☛ Facebook: https://bit.ly/33SO5Mk
☛ Twitter: https://bit.ly/3lVfnb8
☛ Instagram: https://bit.ly/3oBuisq
#howtodeleteacustomerinquickbooks
#howtodeleteacustomerinquickbooksonline
#deletecustomerinquickbooks
#howtodeletecustomerinquickbooks
#quickbooksdeletecustomer
#howtodeletequickbooksaccount
#contactquickbooks
#Cancelquickbooksonline
Excel is a powerful tool for creating graphs, charts, and tables. With a bar graph (also known as a line graph) you can compare different sets of data including quantities and rates. Using conditional formatting in Excel, you can make the bars in your graph change color depending on the values displayed.
A bar graph is a graphical representation of data that shows how many items in a category are more excellent than, equal to, or less than a certain value. Excel makes it easy to create bar graphs by using the Chart Wizard.
A bar graph or a column chart can show the number or quantity of different groups in a dataset. The bars in a bar graph typically run horizontal, but you can determine the height by the number of data observations each group has. Bar graphs are useful tools to visualize data, especially when it comes to visualizing distributions.
If you have been waiting to learn How to Make a Bar Graph in Excel or a Column Chart then this is the place to start.
This quick tutorial will give you a complete guide on How to Make a Bar Graph in Excel or a Column Chart.
#BarGraph #Excel #CloumnChart #MicrosoftExcel #DancingNumbers #DancingNumbersOnline #AccountingSoftware #Accounting #Saas
We assume no prior knowledge and start at the very beginning by helping you set up your company file and preferences after we move on to teach you How to Make a Bar Graph in Excel or a Column Chart, along with the Advantages of Making a Bar Graph or a Column Chart, and so much more!
STAY IN TOUCH!!
We are sure now you are an expert on making a Bar Graph in Excel or a Column Chart. If you found this video efficacious and if you really enjoyed it then please give a "thumbs up" and “subscribe” to our channel for more such videos.
And don’t forget to comment if you wish to see more such videos.
Dancing Numbers supports XLS, XLXS, and more file formats.
However, if you still have any doubts, then you can easily connect to Dancing Numbers without taking much of your time.
And if you want to learn about Quickbooks, then you can connect to https://intuit.me/3la0dRj. Once you connect Quickbooks Online to Dancing Numbers Online, you can easily access your data and avail the benefits of import, export, and deletion services.
Just browse our entire library and hit the like button for regular updates. Don’t forget to comment if you wish to see more such videos.
💠💠Try the Free Trials For QuickBooks Desktop: https://bit.ly/dancingnumbers-desktop 💠💠
💠💠Try the Free Trials For QuickBooks Online: https://bit.ly/dancingnumbers-online 💠💠
You can Connect with us on Social Media:
☛ Facebook: https://bit.ly/33SO5Mk
☛ Twitter: https://bit.ly/3lVfnb8
☛ Instagram: https://bit.ly/3oBuisq

White label imply to products or services that are
bought by a reseller who rebrand the products or services to offer the
influence that the brand new proprietor created it. White label results are
often produced through mass production.

B2B integration stands for Business-to-business
integration, which is the automation of work operations and communication
between two or more organizations.

Business to business (B2B) Portal is the perfect
platform of adding fuel to the momentum of expanding online employment and
promotion to every nook and corner of the globe. A web portal provides an e
commerce platform to the professions to
expose their brand to the world utilizing most out of the Internet.

We are excited to introduce Aftermarket Macbook Screens. We, at MobileSentrix always want to ensure quality and transparency are always there. We are not ok selling aftermarket MacBook screens with logos and calling them OEM pulls.
This is why today we are making available Aftermarket Macbook Screens without a logo for up to 50% of the price of an OEM pull to ensure you and your customers can repair their devices rapidly and reliably.
