Finance & Accounting
Sub Category
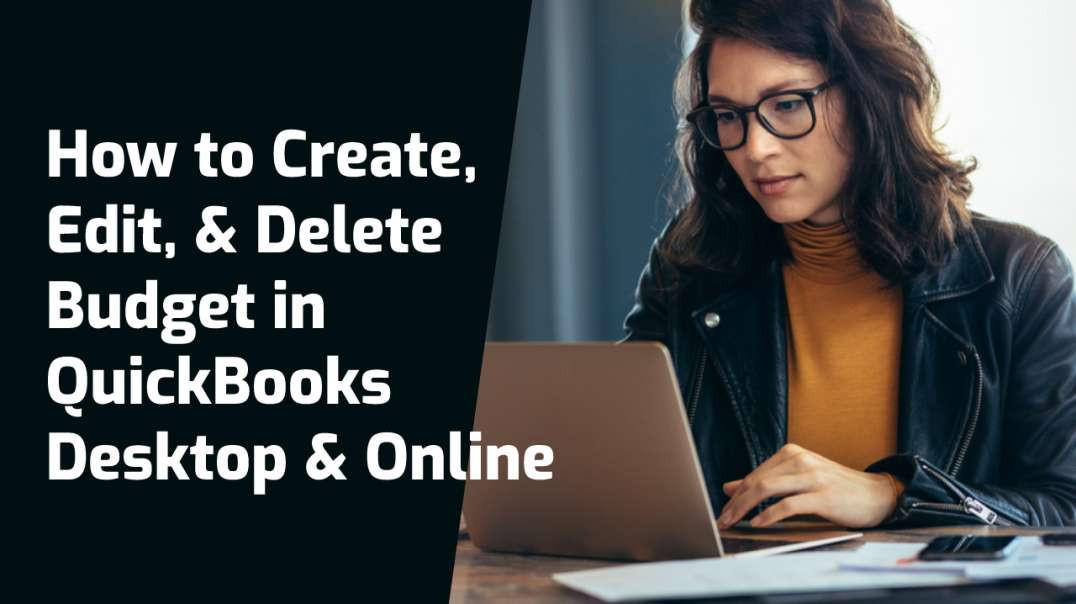
To start budgeting, click the gear tool and choose the budgeting tab to open the budgeting window. https://www.dancingnumbers.com/create-edit-delete-budget-in-quickbooks/?utm_source=youtube&utm_medium=video&utm_campaign=yogesh
#quickbooksbudgeting #quickbooksonline #budget
Now you can select either the import or Add Budget button.
To create a budget, you will have to fill in all the details of the expenses month-wise in a yearly budget format.
Remember that entering all such figures is mandatory to have a current representation of the company financial abilities for expenditure.
Such Budgeting is often very helpful to keep a tab on the expenditure and earnings to help assess the real impact on finances of a company.
At any given point in time, you can delete any section of the budget if it is not relevant by simply clicking the close button on it.
Once you are done with the filling of all the information, you can click Save or Save and Close.
You can always try and edit the QuickBooks Budget whenever you need to.
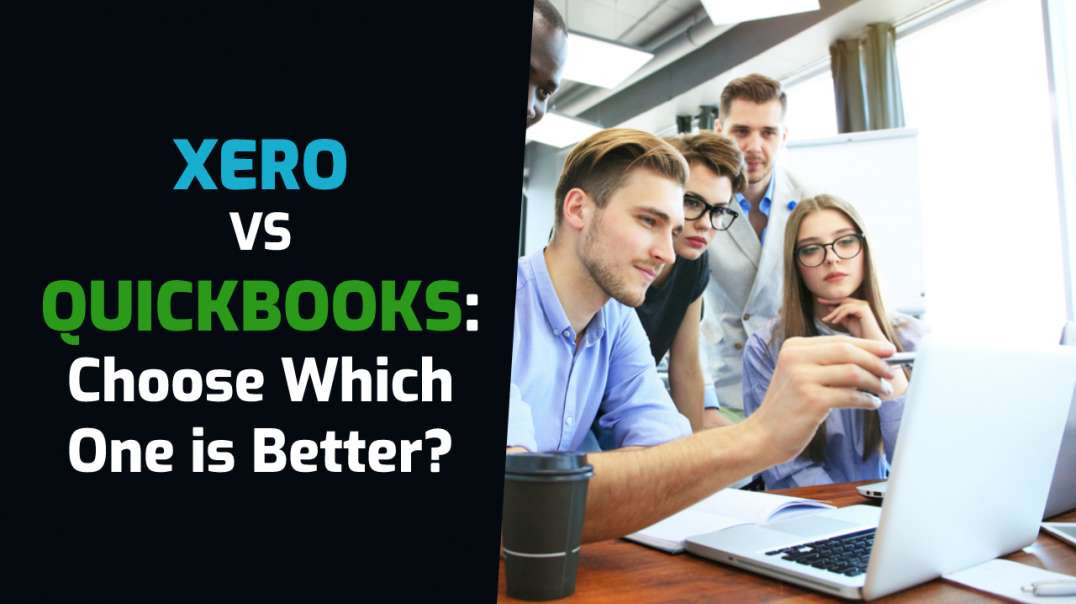
Welcome to this video which talks about two of the leading online tools for accounting professionals. We will compare the Xero and QuickBooks online here. https://www.dancingnumbers.com/xero-vs-quickbooks/?utm_source=youtube&utm_medium=video&utm_campaign=yogesh
#xerovsquickbooks #xeroaccounting #quickbooksonline
Advantages of QuickBooks Online
✅ It can accommodate up to 25 users
✅ It has an intuitive designer
✅ It has an excellent reporting capability
✅ It has an easy to set up and use
✅ It provides in-product support and product training
✅ It facilitates easy monitoring of payments for year-end processing
✅ Its an easy system navigation
✅ Its better-suited for mid-sized and fast-growing businesses
Disadvantages of QuickBooks
✅ It might have response time during the peak hours
✅ Some additional features are not displayed on the main navigation screen
✅ Accessing support from within the application can be difficult at times
Xero has been able to give QuickBooks a good run for their money. It has allowed the business owners to have a clear view of their accounting needs, have good control over their expenses, track project performances and maximize tax deductions.
Advantages of Xero
✅ It offers three plans to provide scalability
✅ All plans from Xero support unlimited users
✅ It has a highly intuitive platform
✅ It has an affordable pricing system
✅ It integrates with over 700 external applications
✅ It is easy to set up and use
✅ It has an easy system navigation
Disadvantages of Xero
✅ The option of live customer support is not available
✅ The mobile app of Xero does not offer all the features available in the full software version
✅ Not the best for large businesses
Welcome to the video which talks about steps to QuickBooks Pro to Enterprise conversion Online. https://www.dancingnumbers.com/quickbooks-pro-to-enterprise-conversion/?utm_source=youtube&utm_medium=video&utm_campaign=yogesh
#QuickBooksPro #QuickBooksEnterprise #Conversion
There are several benefits of switching from Pro to Enterprise. These are:
✅ Track all your financial transactions
✅ Buy more licenses with the growth of your business
✅ Use VPN
✅ Increase your capability of user
✅ Process the large files
✅ Take easier backups
✅ Give more increased range of permissions
✅ Manage reports and finances
✅ Great way for inventory management is great
✅ Modernize the Payroll and Employee Management
Steps to convert from QuickBooks Pro to Enterprise
Step 1: Prepare and Text Network
1⃣. Network Options: Check for peer to peer network, central server, and remotes desktop services
2⃣. Test the network Bandwidth: Test the network bandwidth for conversion
3⃣. Check the Firewall and Antivirus Settings
Step 2: Download and Install QuickBooks Enterprise
Step 3: Configure the Database Server Manager
1⃣. Set up configuration of the QuickBooks Database Server Manager
2⃣. Scan the Company files that need to be converted
3⃣. Supervise the Hard Drive
Step 4: Set Up the Sharing Settings
1⃣. Install QuickBooks Enterprises on all Workstations
2⃣. Set up the Hosting of Multi-users
Step 5: Convert Company Data
1⃣. Take a back up of the data
2⃣. Then, convert the company data
Step 6: Adjust Server and Network Settings
Thanks for watching this video.

Welcome to this video which gives you the details about QuickBooks going subscription only for its Desktop version in 2022.
In the new update, for 2022 Desktop products, Intuit is making four changes to its products:
o Transition to subscription model for the Desktop lineup
o Introduction of QuickBooks Desktop Mac Plus subscription
o Extension of 2021 Desktop one-time purchase products until December 10, 2021 for accountants
o Improved support for ProAdvisors
The tentative new release date for the Desktop products is 28th September 2021.
QuickBooks ProAdvisors will have access to the new QuickBooks Accountant Desktop Plus, Desktop Enterprise Accountant, and Desktop Mac Plus subscriptions around September 28, 2021.
These subscriptions will be available through the ProAdvisor Membership portal within QuickBooks Online Accountant.
With the new 2022 launch, Intuit will be selling Pro and Premier products as Pro Plus and Premier Plus subscriptions in place of one-time purchase licenses.
Intuit is aiming for greater value and more impactful features for clients. This transition will also encourage the clients to be on the most recent versions for easier collaboration.
To facilitate this transition, sales of QuickBooks Desktop 2021, one-time purchase versions, will be extended until December 10, 2021.
Benefits of 2022 Subscriptions:
o Access to the latest version, with the most up-to-date features, security patches, and support for 3rd party operating system changes
o Up to 38% faster, more reliable QuickBooks computing power
o Free unlimited customer support and data recovery
o Premium time saving and money management features
o Increased productivity with the QuickBooks Desktop mobile app
Mac Plus subscriptionQuickBooks Desktop Mac Plus 2022 version is released with an annual subscription-based license for small businesses. Intuit will be selling Mac product subscription in place of one-time purchase licenses.
QuickBooks Desktop Mac Plus will be available to accounting professionals as part of the ProAdvisor Enterprise Software Bundle.
Computer Configuration for the new Version:
All the users of QuickBooks Pro Plus and higher will have to transition from 32-bit operating systems to 64-bit Operating system for software compatibility. You will need a minimum of 8 GB RAM for faster processing speed.
There are some additional features which include:
· Automatic creation and categorization of receipt expense transactions
· Distribution for QuickBooks Desktop
Intuit shall give a limited time exception for the purchase of our Desktop Pro, Premier and Mac 2021 one-time purchase licenses (supported through May 2024) to avoid disruption to their clients.
Welcome to this video which talks about ways to help in login issues of Intuit QuickBooks Online. Visit HERE for More Info: https://www.dancingnumbers.com/unable-to-login-intuit-quickbooks-payroll/?utm_source=youtube&utm_medium=video&utm_campaign=yogesh
1⃣ Due To Downtime: This is due to the interface server on which the Intuit Payroll runs may see a downtime or cannot take a load due to the high number of logins and crashes. With this, any user might also face the issue of slow connectivity.
2⃣ Chrome Login Issue: Web browsers of particular devices used by the users might also lead them to the login issues. As the browser may get corrupted, users may see themselves logged out of their account.
3⃣ Login Restricted By Administrator: If you are trying to login and your selected email address is not the admin but is just a normal subscriber of Intuit Payroll, then also you may see this error. At times, account admins may restrict the login permission and as the standard user, you might have got logged out of the account. Under this situation, all you need to do is to contact their admin and get this issue resolved.
4⃣ Already Logged-In: This happens at times as well. You may be logged in already from a different device and when trying to login again from another, then you see that you cannot get in.
5⃣ Login Credentials: Considering that payroll data has all the sensitive nature information, it has become quite important for the users to ensure that they have a very unique login and password with good strength. The login id of the user should be unique to the user himself and should not be easy to guess. It should be even more imperative than the User ID is the password.
Here are some of the few quick fixes for Login issues of QuickBooks Payroll account.
☑ Solutions to fix QuickBooks Online (QBO) Login Problems for Chrome.
☑ You can use any other web browser in order to fix the chrome issue.
☑ You can also try logging in the Incognito Window of the Chrome Browser.
☑ As another quick fix, you can also try clearing the cookies and cache or history of your browser.
You might need to recover passwords at times to login to Intuit Account
☑ First of all go to the login page and click on the Forgot Password.
☑ Enter your registered Username or ID.
☑ Enter your e-mail address.
☑ A security PIN or an OTP will be sent to the registered email address.
☑ Enter the security PIN in the required field.
☑ You will get an auto-generated password that you can reset later and then you will be asked to update it.
Thanks for watching this video.
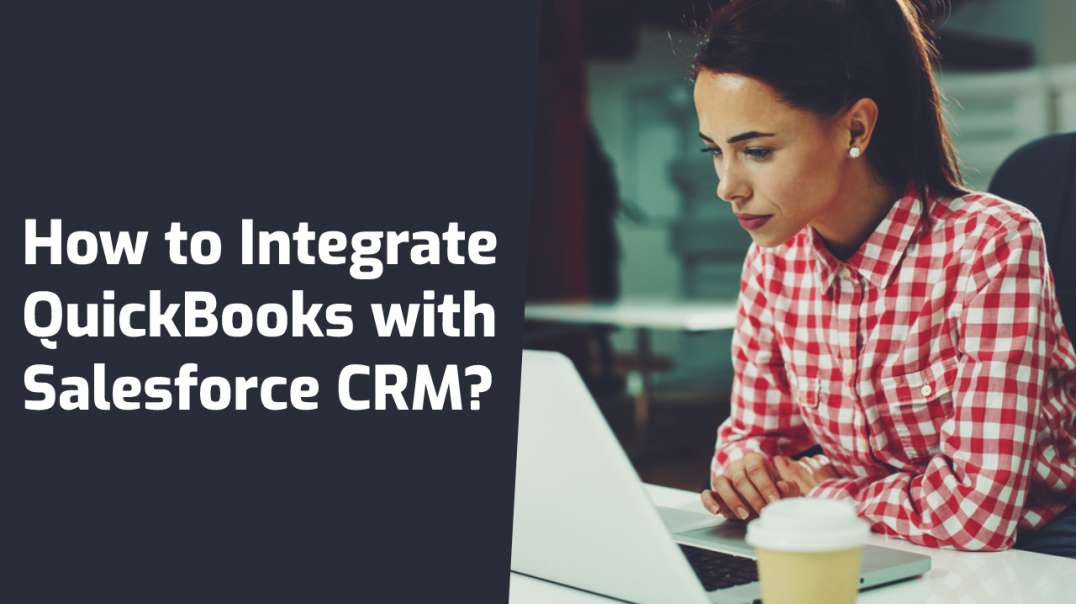
Welcome to the video that talks about integrating QuickBooks and Salesforce. https://www.dancingnumbers.com/integrate-quickbooks-and-salesforce/?utm_source=youtube&utm_medium=video&utm_campaign=yogesh
Integrating the two have two benefits:
☑ Better opportunities for sale
☑ Better downloading of prospective opportunities
To integrate you need to download Salesforce Connector. You follow the instructions to install the SalesForce Connector.
Then, select the parameter and standards in the connector to integrate both the systems.

Welcome to the video, which compares two of the leading accounting software available in the market. https://www.dancingnumbers.com/freshbooks-vs-quickbooks/?utm_source=youtube&utm_medium=video&utm_campaign=yogesh
We are comparing Freshbooks and QuickBooks.
Advantages of FreshBooks
The advantages of FreshBooks include:
☑ It offers multiple plans
☑ It offers live customer support
☑ It is highly intuitive platform
☑ It has an affordable pricing
☑ It is easy to set up and use
☑ It has an easy system navigation
☑ It suits the needs better for consultants and sole proprietors
☑ It allows choosing your preferred language and currency for any client
Disadvantages of FreshBooks
☑ It has limited report customization features
☑ It has no budget capability
☑ It is not the best for growing businesses
QuickBooks Online is the browser-based version of QuickBooks Accounting and is designed while keeping the small businesses in mind. It is a flexible application you can access from anywhere anytime.
Advantages of QuickBooks
☑ It boasts of an excellent reporting capability.
☑ Its plans are available for a maximum of 25 users.
☑ It offers in-product support and product training.
☑ It is easy to set up and use.
☑ It has an easy system navigation
☑ It has an easy tracking of payments for year-end processing.
☑ It suits the needs better for fast-growing and mid-sized businesses.
Disadvantages of QuickBooks
☑ There might be days when the program response time becomes slow during peak hours.
☑ Extra features are not visible on the main navigation screen.
☑ It is difficult accessing support from within the software application.
Thanks for watching the video which compared two of the leading accounting software in the market.
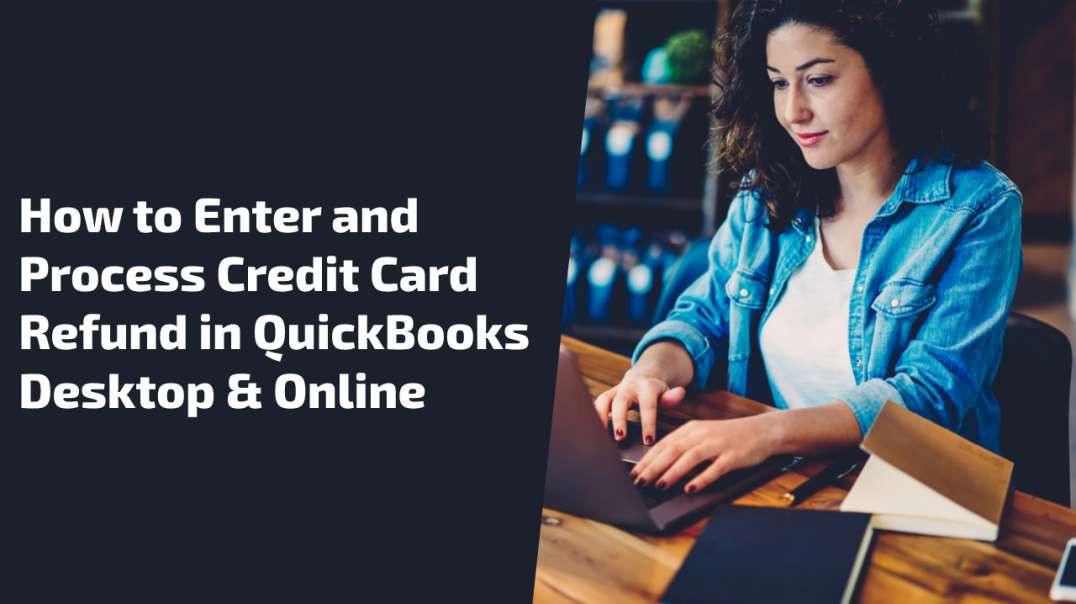
Welcome to the video, which talks about credit card refund in QuickBooks. For more go through with video: https://www.dancingnumbers.com/quickbooks-credit-card-refund/?utm_source=youtube&utm_medium=video&utm_campaign=yogesh
You can refund the payment to the customer for a paid invoice or a sales receipt. So the partial payment can also be initiated to the customer according to the requirements.
There are some requirements that you must know about before processing the QuickBooks credit card refund process. These requirements are as follows:
The refund can be initiated up to the amount of the sale that is original but not more than that.
The credit card refund can be issued within 180 days of the sale that you have done to the customer.
Credit Card Refund for Sales Receipt
☑ Open QuickBooks Online
☑ Click on the New button
☑ Select the option Refund receipt
☑ Hit on the drop-down arrow of the customer field
☑ Choose the customer to whom you want to refund the credit card
☑ You have to Add the Details
☑ Now forms the section Refund from, you have to choose the payment method and also the Account
☑ When you are done with all the above steps, then click on the Save and Close button.
Credit Card Refund For Paid Value
☑ Open the QuickBooks Online in to the browser
☑ Click on the New button
☑ Choose the option Refund Receipt
☑ Click the Customer drop-down arrow
☑ Choose customers and add the details
☑ Select the payment method from which you are going to pay the refund of credit card
☑ Click Save and Close button
Send a partial Refund
☑ Click on the New sign
☑ Select the Refund Receipt option
☑ Click and drop-down arrow of the customer field
☑ Enter the details in the customer
☑ In the end, click on the Save and Close button
Thanks for watching the video.
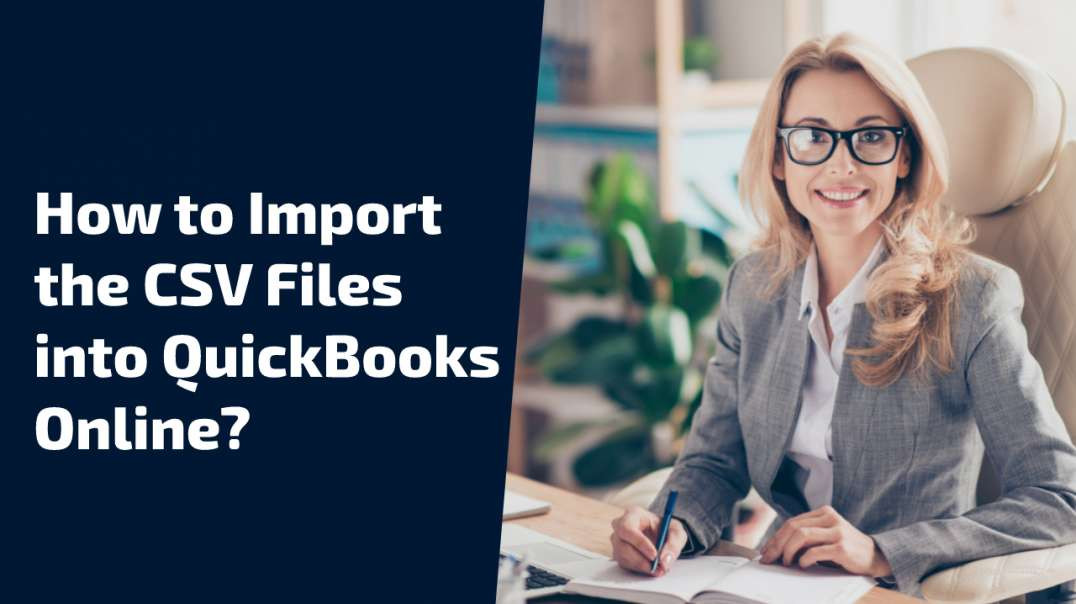
Welcome to Dancing Numbers video about how to Import the CSV files into QuickBooks Online. For more visit: https://www.dancingnumbers.com/import-a-csv-file-into-quickbooks-online/?utm_source=youtube&utm_medium=video&utm_campaign=yogesh
#importcsv #quickbooksonline #csvfile
There are two major steps for the process.
Step 1: First of all, open the toolkit download file window and click on save.
Step 2: Choose the location for the CSV.
Step 3: In this step, double click on the .exe file so that toolkit winzip self-extractor window can get opened.
Step 4: Now click on browse and choose the location where you wish to install the toolkit and click on OK.
Step 5: After this step, click on unzip to extract the content and close the self-extractor window. And open the QuickBooks import excel and CSV folder from the location you saved it earlier.
Once you download the toolkit, there will be a PDF document in it for importing Excel and CSV files with all the instructions, best practices and notes.

Welcome to Dancing Numbers video about how to Import Journal Entries into QuickBooks Online. For more visit: https://www.dancingnumbers.com/import-journal-entries-into-quickbooks-online/?utm_source=youtube&utm_medium=video&utm_campaign=yogesh
There are two major steps for the process.
Step 1: Prepare the Spreadsheet
☑ First of all, you need to keep the spreadsheet ready for the import process.
☑ Use the right spreadsheet format
☑ Fill in all the mandatory data
☑ Choose the correct date format as prescribed by QuickBooks
In case you are moving from QuickBooks Desktop to Online, then try and format it to suit the QuickBooks Online.
☑ Create a New Accounts in Chart of Accounts
☑ Open the QuickBooks online
☑ Click the Setting icon and then, choose the Chart of Accounts
☑ Select an account type
☑ Provide a description
☑ Choose all the relevant information
Step 2: Proceed with journal Entries Import
☑ Go to Settings and then, select Import Data
☑ Then, select Journal Entries
☑ Find and select the Excel or CSV file and then, click Open
☑ And, then, hit the Next Option
☑ Start mapping of the data and then, give a click Done
This is the way in which you import journal entries into QuickBooks online.
Welcome to QuickBooks Tutorial for professionals. This is a complete guide for the people who use QuickBooks for their bookkeeping and accounting purposes. We have deliberately divided the training into two parts. https://www.dancingnumbers.com/quickbooks-tutorial/?utm_source=youtube&utm_medium=video&utm_campaign=yogesh
#QuickBooksTutorial #QuickBooksUS #Tutorial #Download #Setup #Accounts #Accounting #QuickBooksAccounting #ChartofAccounts
Table of Contents
00:00:08 Download QuickBooks Desktop Version 2021
00:04:05 Navigating QuickBooks Desktop
00:07:40 Creating Company File in QuickBooks Desktop
00:10:46 Creating a Local Back Up of QuickBooks Desktop
00:12:14 Restoring Local Company Back Up
00:13:30 Setting Up Users
00:16:55 Editing and Deleting Users
00:19:01 Using Chart of Accounts
00:22:45 Creating Customers and Jobs
00:39:00 Using Employee Lists
00:52:28 Using Inventory Lists
00:56:54 Estimates
01:01:33 Creating Invoice
01:04:17 Basic Sales
01:07:09 Creating Batch Invoices
01:08:38 Creating Sales Receipts
01:09:17 Setting Financial Preferences
01:14:27 Enter Statement Charges
01:17:26 Create Statements
01:26:43 Entering Partial Payments
01:40:55 Recording Full Payments
01:55:11 Apply One Payment to Multiple Invoices
02:07:23 Enter Over-payments
02:09:50 Enter Prepayments
02:11:48 Use Pricing Levels
02:14:17 Applying Credits to Invoices
02:15:53 Making Deposits
02:17:56 Automatically Transfer Credits Between Jobs
02:20:53 Create Memos and Refunding Customers
02:21:58 Using Bank Accounts
02:22:33 Entering and Paying Bills
02:23:53 Paying Sales Tax
02:27:57 Using Graphs
Other Data Import Videos:
Import Bill Payments: https://youtu.be/N4_F4J2aNw8
Import Bills: https://youtu.be/RByrG7j-byk
Import Charges: https://youtu.be/AMfDTSKATQM
Import Checks: https://youtu.be/PIwnMiScSlk
Import Credit Card Charges: https://youtu.be/-HRA2PY2YD4
Import Credit Card Credits: https://youtu.be/pDQYddMSfek
Import Credit Memos: https://youtu.be/swXbRpuvnW8
Import Estimate: https://youtu.be/qecvNsO_gBw
Import Inventory Adjustment: https://youtu.be/rTpIhVVVpJ0
Import Invoices: https://youtu.be/q77uSG7dEN8
Official Website: https://bit.ly/2Liao7H
Get Support: https://bit.ly/39QQ6w9
You can follow on Social Media:
Facebook: https://bit.ly/33SO5Mk
Twitter: https://bit.ly/3lVfnb8
Instagram: https://bit.ly/3oBuisq
To download and setup Dancing Numbers 7-day free trial for Import, Export & Delete Data in QuickBooks. https://www.dancingnumbers.com/free-trial/?utm_source=intuit-community&utm_medium=affiliate&utm_campaign=yogesh
In this video know the comparison (Price, Features & Integration) of Square & Paypal, user can also know which one is better for your business. https://www.dancingnumbers.com/square-vs-paypal/?utm_source=youtube&utm_medium=video&utm_campaign=yogesh
Paypal
PayPal has been one of the most prominent players in the payment processing space and one of the most recognizable platforms as well. Many customers have made a habit to use PayPal as a suitable alternative to credit card transactions. It offers an incredible value with its comprehensive payment system.
Advantages of PayPal
Certain Important advantages offered by PayPal are listed below:
☑ Have a large number of loyal customers
☑ Makes international selling possible
☑ Predictable pricing
☑ Can be easily integrated with other applications
☑ Efficient developer tools
☑ Accept in-person payments from PayPal and other platforms
Square
Because of its advanced features, Square has made quite a name for itself in the payment processing industry. It is easy to use, affordable and transparent platform. Even though, it is not ideal for global or high-risk businesses, it certainly fits the requirements perfectly for small business owners.
Advantages of Square
Certain important advantages offered by Square are listed below:
☑ Modern tools and an impressive set of features
☑ Free add-ons
☑ Comprehensive and multichannel payments system
☑ Specially Designed POS systems for retails, restaurants, and appointment businesses
☑ Free virtual terminal and other eCommerce tools
☑ Proprietary POS options such as Square Terminal, Square Stand and Square Register
☑ Zero chargeback fee
Common Features to Square and Paypal
You can expect the following from both:
☑ Accepts of all kinds of credit cards
☑ Free mobile POS services compatible with almost all devices
☑ Smooth recording of cash transactions
☑ Keyed transaction support
☑ Both partial and full refunds
☑ Item library with product descriptions, images, and variants
☑ Loyalty and discount programs
☑ SKUs and Barcodes
☑ Email/SMS receipts
☑ Recurring billing
☑ Receipt printing
☑ Invoicing
☑ Cash drawer support
Connect QuickBooks to PayPal?
When you connect QuickBooks to PayPal then you can easily categorize, edit, or match the transactions. You can do these transactions in the same way you did your bank transactions.
☑ Get gross and net sales
☑ See details at a glance
☑ Review Transactions
☑ Track fees separately
How it works after integrating PayPal with QuickBooks?
The data flow is automatic in between the software and you can check it out at one place. Here are the steps that let you know how it works:-
1. Firstly, connect your account
2. Auto-Sync the sales data
3. Review the PayPal transactions before adding them to your books
4. You don’t have to enter transactions manually as PayPal fees are recoded as expenses while reconciling the PayPal account.
Connect QuickBooks to Square?
The Square can easily integrate with QuickBooks software. There is a very simple and smart way to fetch transactions from Square to QuickBooks.
1. Easy to import into QuickBooks and no more manual entries
2. It helps you to collect data from multiple locations of your businesses to QuickBooks account
3. Automatically created sales receipts that include sales items and transactions
4. Select the sales details according to you to import the daily summary or individual transactions.
How it works after integrating Square with QuickBooks?
You can easily make the sale using the Square application by connecting it with QuickBooks. Here are the steps to know how it works:
1. Connect Square with QuickBooks
2. Make a sale using Square
3. QuickBooks groups your payments to match them
4. It makes your reconciliation easy
5. Reviews the transactions for accuracy
6. All the sales transactions can be reviewed
You can easily connect both applications Square and PayPal with QuickBooks. The Dancing Numbers help you in importing, exporting, or deleting the transactions related to the software that you integrate with QuickBooks. All the transactions got integrated into your QuickBooks account and Dancing Numbers is providing services for QuickBooks. You can easily import and export transactions to and from QuickBooks in excel format. It saves your time, makes you work easy, provides you automatic processes, and no human errors.
#Square #Paypal #QuickBooks
Here is how you set up 1099s forms in QuickBooks.
Step 1: Prepare the vendor account or edit it in case it is already created.
Step 2: In the menu bar, select the Vendor and then choose vendor Center.
Step 3: Choose the new vendor from the vendor’s list or select the drop-down button near the New Vendor left side of the screen and click it.
Step 4: In the new window for Address Info, add the Vendor’s contact details and name.
Step 5: Select the Tax Settings on the left of the screen and add the vendor’s tax ID number in the Vendor Tax ID.
Step 6: Check-mark the particular box that says vendor eligible for 1099.
Step 7: Select OK.
#1099sform #QuickBooks #Howto #Setup
Get complete information about visit: https://www.dancingnumbers.com/set-up-1099s-form-in-quickbooks/?utm_source=youtube&utm_medium=video&utm_campaign=yogesh
This tutorial will show how you can file your IOSS return. First of all you need to check if you have added your existing IOSS registration number and check if the transactions for the reporting period are already added or they have to be uploaded first. After the information about your IOSS number and transactions is uploaded you can file the return.
Select the country where you are registered for IOSS and the reporting period. The system calculates the IOSS return divided by the countries automatically according to your transactions for all the European countries where you had sales during the needed to be reported period.
If you do not agree with any of the sums written in the IOSS return or if you had sales through another sales channel which you hadn’t added to Lovat platform you can change this information manually by just putting the necessary amount to added or deducted to your revenue. In the last section of your IOSS return preparation you can once again check the information about your revenue divided by European countries where you had sales and the VAT sum calculated according to the VAT rate of this or another country..
You can save this report for your records or submit this IOSS return on your own if you have such possibility. You can submit it immediately by clicking “Submit” or save it as a draft for the later submission. After submission the IOSS return will be submitted to the tax authorities.

Welcome to the Dancing Numbers video which talks about troubleshooting steps when QuickBooks crashes while data export to the Excel. https://www.dancingnumbers.com/quickbooks-crashes-when-exporting-to-excel/?utm_source=youtube&utm_medium=video&utm_campaign=yogesh
First you need to ensure the compatibility requirement between QuickBooks and MS Office.
Second, you should update your QuickBooks to the updated version or release to resolve the issue. You can check the updates by going to the product information window after opening the QuickBooks.
Third, you can run the repair tool.
Fourth, you can verify and rebuild data feature in QuickBooks.
If all these don’t resolve the problem, then you can repair MS Office with the help of MS Office.
Another shortcut is an integration of Dancing Number sin QuickBooks. Dancing Numbers is a Sass software that can make your import, export, and delete transactions and reports really effort less.
Thanks for watching this video, please subscribe to us for more on QuickBooks.
Welcome to the Dancing Numbers video which talks about uploading the data from Excel and CSV files to QuickBooks Pro Online.
Before you try and import data, please take a back of your company files.
To start the upload of the data, click on the gear icon.
Click Import Data tab, then select the type of data that you want to import.
Select the file, click open.
Then you will see the data getting imported or uploaded to the QuickBooks pro online.
With the new QuickBooks Pro Advanced version it is possible to simply upload data from Google sheets as well.
Classify the data and then, click Next.
Thanks for watching this video, please subscribe to us for more on QuickBooks. Dancing Numbers helps you convert, import and export QuickBooks Data easily.

Welcome to the Dancing Numbers video which talks about the advanced features of the QuickBooks Online. https://www.dancingnumbers.com/features-in-quickbooks-online-advanced/?utm_source=youtube&utm_medium=video&utm_campaign=yogesh
QuickBooks Online advanced features is the latest feather to the QuickBooks Hat of Excellence.
1⃣ Integration of Googlesheets
In this jet age of carry your information everywhere; Googlesheets has helped millions carry their office documents on the go. QuickBooks Online in its latest update has integrated Google sheets as an alternative to the Excel sheets.
2⃣ New Batch Transactions
Batch Transactions now allow you to enter all tier transactions including checks and expenses in batch transactions.
3⃣ Cash Flow
Cash Flow, both in and out of the company, is the cause of major worry for the companies worldwide. In the new QuickBooks Online Advanced version, the users have the option of viewing the cash flow to any client at any given time.
4⃣ WorkFlows
With the new bill reminder, past due reminders, bank deposit reminders, send invoice reminders, customer notification, stamp overdue invoice, and send unsent invoices features, you have a better control on the workflow.
5⃣ Revenue Streams
Along with the cash flows, you have the complete control over the revenue streams now.
Thanks for watching this video, please subscribe to us for more on QuickBooks. Dancing Numbers helps you convert, import and export QuickBooks Data easily.
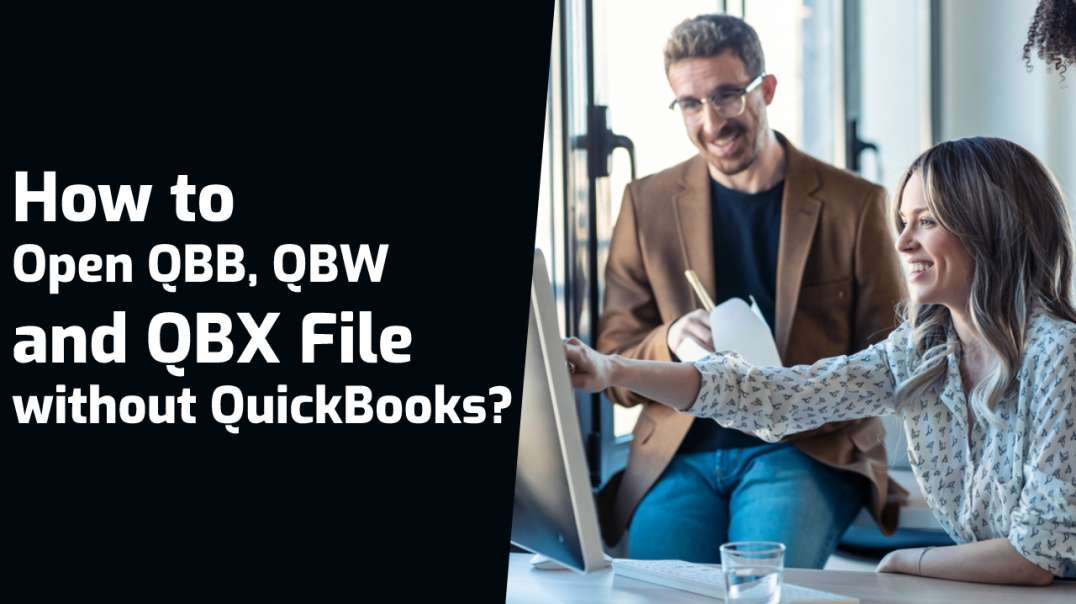
Welcome to the Dancing Numbers video which talks about how to open different types of QuickBooks File formats without QuickBooks. https://www.dancingnumbers.com/open-quickbooks-file-without-quickbooks/?utm_source=youtube&utm_medium=video&utm_campaign=yogesh
QuickBooks is known to save different types of data under different file formats. There are different file formats like .qbw for company file, .qbx as accountants copy and .QBB as back up files.
Open the Company file into your QuickBooks account, Click on File menu option, Select option Open file, Search for the company file having .qbb, .qbx and .qbw extension.
The regular way to open all these files in QuickBooks is demonstrated here.
#HowtoOpenQuickBooksFile
You can open QuickBooks file format without QuickBooks by simply:
☑ Look for the QBX file, then right-click on it.
☑ Select Open with option.
☑ Choose the Excel or Excel Spreadsheet option to open the file.
☑ Click on the option Import from other sources to open the file.
☑ Go to the import page and select the file.
☑ Convert QuickBooks file to excel to continue Check for the file with the QBB Extension.
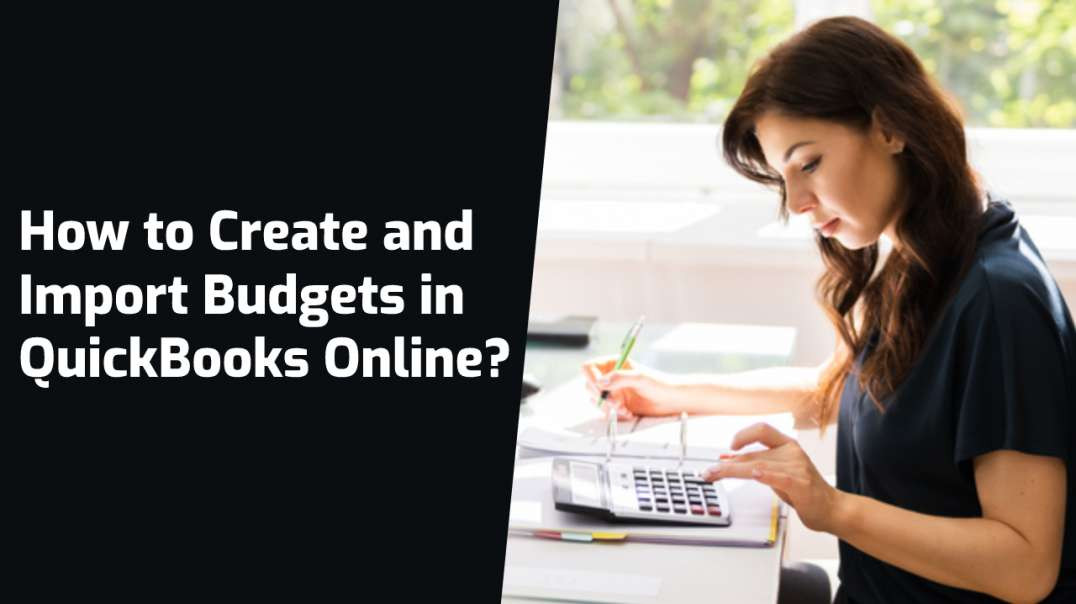
Welcome to the Dancing Numbers Video which talks about the creating and importing budget in QuickBooks online. https://www.dancingnumbers.com/create-and-import-budgets-into-quickbooks-online/?utm_source=youtube&utm_medium=video&utm_campaign=yogesh
To start budgeting, click the gear tool and choose budgeting tab to open the budgeting window.
Now you can select either the import or Add Budget button.
To create a budget, you will have to fill in all the details of the expenses month-wise in a yearly budget format.
Remember that entering all such figures is mandatory to have a current representation of the company financial abilities for expenditure.
Such Budgeting is a often very helpful to keep a tab on the expenditure and earnings to help assess the real impact on finances of a company.
At any given point in time, you can delete any section of the budget if it is not relevant by simply clicking the close button on it.
Once you are done with the filling of all the information, you can click Save or Save and Close.
At the end of filling all relevant information, you might see that there are plenty of rows where there are no figures, you may choose to not show them in the budget.
To Import an already filled Budget from Excel in (.csv) format, you can simply click the Import button, choose the file and click next to import the file.
Hope you learned something new in this video, to learn more subscribe to our channel and website. You can download Dancing Numbers as QuickBooks utility.
Topics Covered here are:
00:00:00 Introduction About Create and Import Budgets in QuickBooks Online
00:00:45 How to Add Budgets in QuickBooks Online
00:00:50 How to Create Budget and Add Details
00:15:17 How to Import Budgets in QuickBooks Online
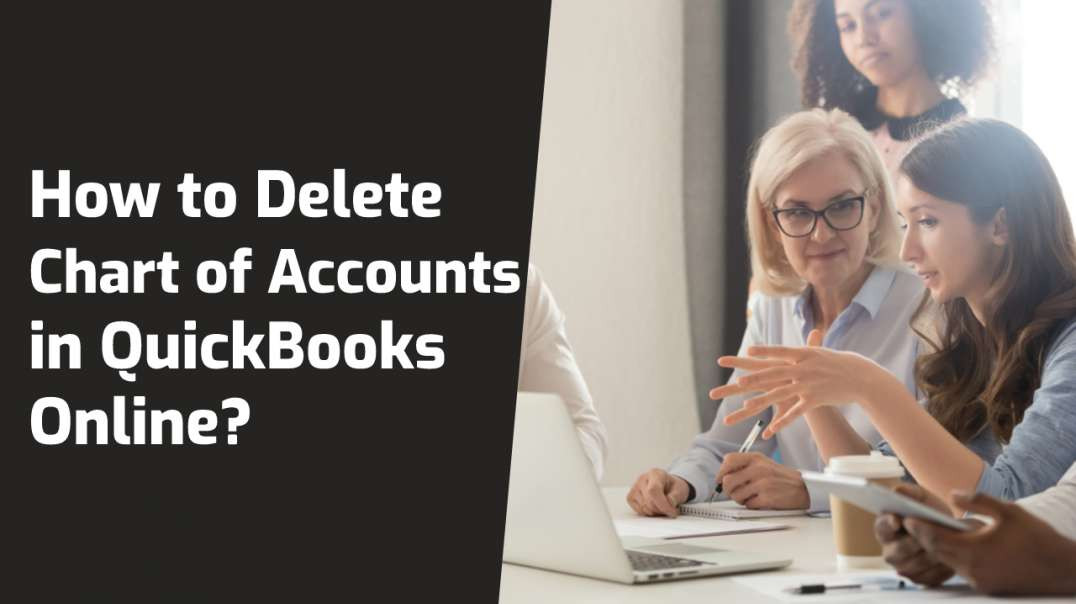
Welcome to this video about the QuickBooks tutorial, in this tutorial we talk about how to delete the Chart of accounts in QuickBooks Online. https://www.dancingnumbers.com/how-to-delete-chart-of-accounts-in-quickbooks-online/?utm_source=youtube&utm_medium=video&utm_campaign=yogesh
Login to your company file.
Click the gear button to search for chart of accounts.
Now, this list of all the chart of accounts, find the one that you want to delete. In QuickBooks Online, it is very convenient to delete a chart of accounts. You can simply inactivate the account that does not serve the purpose.
Now select the account you want to inactivate and select inactive action from the drop down to simply inactivate and delete the chart of accounts.
Thanks for watching this video, for more such process videos and more data conversion tutorials visit our website and subscribe to our YouTube channel.
#Delete #ChartofAccounts #QuickBooksOnline

Welcome to this video about the QuickBooks tutorial, in this tutorial we talk about the how to configure recurring payments in QuickBooks. https://www.dancingnumbers.com..../recurring-ach-payme
It is very important to configure the recurring payments of the customers in QuickBooks Desktop.
To start the process, click on the receive payment button.
Sort out the customer from the drop down.
Select the method of recurrent payment. Enter or edit details for the customer. Most of the amounts will be pre-filled as they are filled on for the customer. You can also enter the other alternate card method details.
You can check for other customers and their details for recurring payments. Check the methods. Once done you can go back to the home screen.
Setting up Recurring ACH Payments in QuickBooks Online
This method shows configuration to accept credit cards, debit cards and ACH bank transfers in QuickBooks Online. The payments generally show up within maximum 5 banking days.
To start the process you will need to log in the QuickBooks Online and click on Settings.
Click the accounts and settings of QuickBooks Online.
Then, click Payments.
Then, click Learn More.
Click start button in the Business section. Select the relevant categories and details. Once done, you click next.
Then, you will need to fill the owner/proprietor details by selecting start. Enter the details and then, click Next.
Repeat the similar process by filling in bank details in the banking category.
Once then, you are all set to go and finish the recurring payment settings.
Thanks for watching this video, for more such process videos and more data conversion tutorials visit our website and subscribe to our Youtube channel.
Topics:
00:10 - Recurring Payment in QuickBooks Desktop
03:30 - Recurring Payment in QuickBooks Online
#QuickBooksRecurringACHPayments #HowtoSetup #Manage #Stop
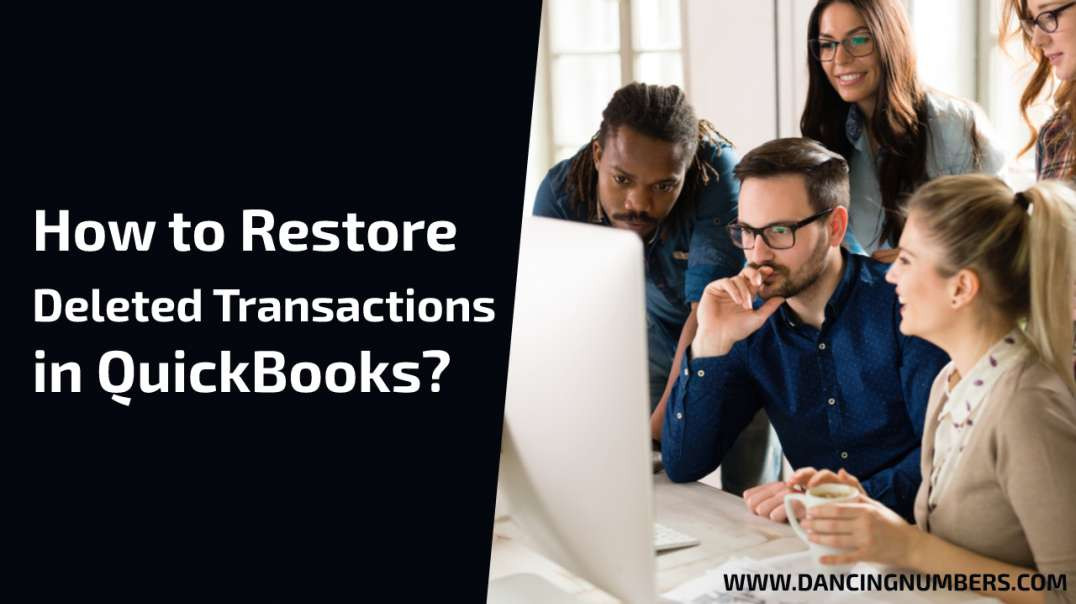
Welcome to this video that talks about restoring the deleted transactions that you might have deleted either by mistake or as a bulk delete in QuickBooks. Click HERE for detailed info: https://www.dancingnumbers.com..../restore-deleted-tra
Sometimes you find that you might have deleted some vital transactions and then, you want to regain the same. What is the way out? Well, there are two methods in which you can regain all the information lost.
Method 1: Restore Deleted Transactions Using Backup Files
This is the best way to restore transactions, however, it is effective if and only if there was no more transactions after you deleted the transactions.
Step 1
Restore the latest backup file. If the deleted transaction is one of a few transactions you can restore the most recent backup file. To do this, click on the QuickBooks "File" menu on and scroll down to the "Open Or Restore Company" button.
Step 2
Click on the "Restore A Backup Copy" button and click "Next." The software prompts you to answer the question, "Is the Backup Copy Stored Locally or Online?" If you stored the backup to an external drive or flash drive, choose the "Local Backup" button and click next.
Step 3
Find the most recent backup copy stored on your computer. The software prompts you to choose the location in which it should search for the backup file. Select this location and click "OK". When you see the most recent backup, double click on it and then click "OK".
Step 4
Choose a location to save this backup copy. After you locate the backup file, the software asks you to specify where you want to save the new company file. Choose the default location of the external drive or flash drive you currently use and click "OK".
Step 5
Open the file and check for the presence of the deleted transactions. Re-enter the transactions that were entered between the time that transactions were deleted and the time that you restored them. Re-enter all data that was entered following the deleted transaction as needed.
Method 2
This is a time taking method, in case if you have deleted many transactions, however, there is no harm to data that you have recently entered.
Click on the "Reports" button on the top menu bar. Scroll down and click the "Accountants & Taxes" button, then click on the "Audit Trail" tab. It's the Audit Trail that captures each transaction that is entered, altered, or deleted.
Select the date type and then, manually enter the date range. Click on the "Refresh" button and the Audit Trail will display all transactions within the date range you specify.
Scroll through the list of transactions and double-click the one that was deleted. Make a note of each item in the transaction. The audit trail is organized by the user who created or last altered the transaction, then by transaction type, then by the date it was created and then by the date it was changed.
In case of a deleted invoice, create a new invoice with the details from the deleted transaction. If it is a bill or a bill payment, create a new bill or bill payment with the deleted details.
Welcome to this new video which talks about how to Edit and Delete memorized transactions from QuickBooks company file. https://www.dancingnumbers.com..../create-edit-or-dele
You can always contact us at Dancing Numbers to help you with all QuickBooks desktop issues. Dancing Numbers is SaaS-based software that can easily be integrated with your QuickBooks account. Using Dancing Numbers you can simplify and automate the process, saving time and increasing productivity.
Coming back to our task of the day, you can easily edit and delete the memorized transactions from Quickbooks by following some specific steps.
At first, go to the list on the top menu and click on ‘Memorized transaction list’.
In this step, click to highlight the transaction from the “memorized transaction list’ window.
Now click on the drop-down menu and choose ‘Edit Memorized transaction’. Edit the details and click OK in the confirmation window.
To delete the memorized transaction, you can click on the drop-down menu and choose ‘Delete Memorized transaction’.
And at last, click on OK when you get the confirmation window.
Suggested Videos for Learning QB Online:
QuickBooks Desktop Tutorial: Download, Setup, Chart of Accounts, and Banking - Part 1: https://www.youtube.com/watch?v=dg2enrtZeTQ
QuickBooks Desktop Tutorial: Invoices, Receipts and Credits - Part 2: https://www.youtube.com/watch?v=nbBQfYCcduY

Welcome to this video which talks about void checks and how to delete such checks from the system. Visit For More: https://www.dancingnumbers.com/delete-or-void-employee-paychecks-in-quickbooks-payroll/?utm_source=youtube&utm_medium=video&utm_campaign=yogesh
The process to void the checks is carried out for the people who have either left the company or have opted for a different payment plan other than the existing one.
For this, you will visit the employees center in the QuickBooks desktop to view the payroll cycle and the pending or new checks.
Click on the payroll checks, then, view the details.
Now, select the employee check you want to void and just click the void button to make it.
To delete the checks that you want to delete from the list, simply select the check and click Edit. Now you can see the Delete button on the top bar. You have to click that Delete button to delete the check.
Hope you learned something new, for more such informative videos and information subscribe to our channel and talk to our experts at Dancing Numbers.
Suggested Videos for Learning QB Desktop:
QuickBooks Desktop Tutorial: Download, Setup, Chart of Accounts, and Banking - Part 1: https://www.youtube.com/watch?v=dg2enrtZeTQ
QuickBooks Desktop Tutorial: Invoices, Receipts and Credits - Part 2: https://www.youtube.com/watch?v=nbBQfYCcduY

We want to make sure this time around, we position our AQ line correctly. While AQ7 is not our premium line, it is by far better than the competition’s best grade. Moreover, the AQ7 line uses the best sourceable materials in China without trying to cut corners. That way, you and your customers have the best displays available.
The reason we can make AQ7 very price competitive is because we focus on volume. In addition, we use the best materials probably and keep real-time margins, so savings are always on the clients’ side. While other suppliers might try to compare their screens to our XO Technology, they can never compete. Instead, they would be trying to compete with our AQ7 line, and even then, we are confident they can’t beat that quality!
It has Thinner IC is something the industry has been waiting for a long time, and you will be able to have this technology in AQ7 Technology. Premium Oleophobic Coating on AQ7 Screen for Smooth screen operations. It comes with Vibrant Colors and it has True Tone Functionality and Faster Refresh Rate. AQ7 has Force Touch Panels installed. We ensured that every LCD comes with the authentic 3M ESR film. We have taken the structural core panels, the software, the LCM panel, the flex cable, new LED lights are being implemented in AQ7.
In this video
we concentrate on and give additional information about such section as
“Intra-Community Acquisitions and Supplies”. This is the 4-th section when
you’re filling your VAT return on LOVAT platform. There are 2 steps with 2
types possible for each step here.
Let’s start
with “Intra-Community Acquisition”
The first type here is purchase of goods from Supplier of other EU country. For
example, you’re submitting your German VAT return but bought goods from Belgium
supplier at the same time and paid him 1000 EUR for the supply of these goods.
From his side he will invoice you with so-called “reverse charge invoice”. It
means that VAT should paid by us in the destination country – Germany in our
case.
All such
reverse charge invoices containing your German VAT number should be filled on
this step. The second type for this step is when you’re moving your own goods
from one country to another. For example we send our goods from our Polish
warehouse to our German warehouse during this month. In this case we should
invoice ourselves to our German VAT number from our Polish VAT number. Let’s
fill it – we’ve invoiced ourselves for 2000 EUR with standard rate. The VAT sum
is 380 EUR. We fill our Polish VAT number here and add this record as well.
Now we’re
moving to another part of this section – Intra-community supplies. Here can be
two types of operations as well.
The first
one is sales to customer with VAT number in another country.
The second
type of operations here is regarding the movement of goods.
After we
filled this step – below you can see an opportunity to order a Sales List
report. This is a special report for these kind of sales or movement of goods
operating with another VAT number. It is a mandatory report if you had any and
you can check if it is already available in your subscription or order it.
Sales List report will be automatically formed along with your VAT return.

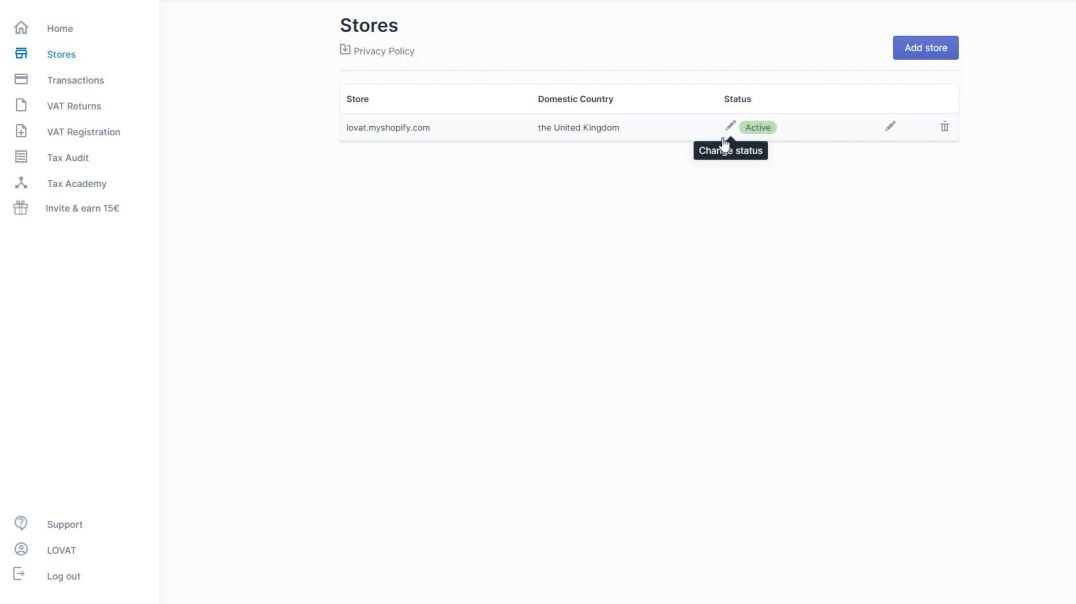
Hello, in this video we'll show how to fill such sections as
"Stores" and "Tax Settings"
1) First of all, make sure that you have filled your company profile.
2) Afterwards, you need to complete integrations with your stores in the
"Stores" section.
If your store is managed by an Amazon fulfillment center or managed by a
merchant actual address will be uploaded automatically by default settings of
the platform.
3) The next step is section "Tax Settings" where you need to
fill in information about your company in regards to VAT and Sales Tax.
Please note that you must add a VAT number by the VIES standard.
4) It's important to consider the reason for registration.
The next step is to add your actual date of registration.
Section "Valid till" will be applied only in case that you
need to deregister your VAT certificate.
Now, let's go to the Sales Tax section.
This section is intended only for the American market. If you have sales in the American market, then you need to add all sales tax permits.
Only after you add at least one sales tax permit you will see the sales tax return section.
For states where you have already added sales tax permits, you will have an understanding of the nexus.
If you want the Lovat platform to calculate the economic nexus for other states - please click "Calculate threshold for economic nexus for all
states" - and then you will see on the dashboard in which states you are approaching the nexus.
The next setting here is the section "Еxemptions"
This setting is very important if you are using the API provided by Lovat.
A guide on how you should fill in the information about your incoming invoices in the VAT return (Step 3).
Such information filled allows you to claim back (deduct) your already paid VAT from your VAT return.
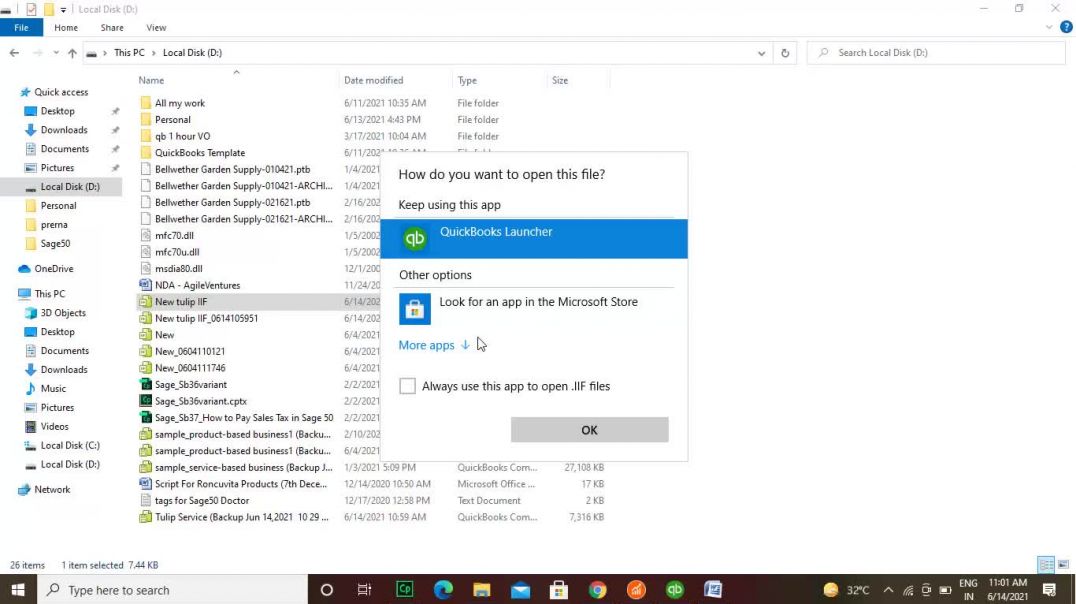
Are you looking for a detailed process that helps you to import IIF files into your QuickBooks account?
See step-by-step tutorial at https://www.dancingnumbers.com/import-iif-files-into-quickbooks/?utm_source=youtube&utm_medium=iif&utm_campaign=youtube_iif
Use the Dancing Numbers Importer (https://www.dancingnumbers.com/free-trial/?utm_source=youtube&utm_medium=freetrial&utm_campaign=youtube_fty) to Import your transactions, chart of accounts, sales, vendors, journal entry into your QuickBooks account.
Do you have your data in the IIF file that you have to add to your QuickBooks software?
In this video, you get the step-by-step process to import your data using the IIF files. Don’t worry transferring data into QuickBooks using IIF files is also easy. Locate your IIF file location and then open your QuickBooks account. Then follow the easiest process from this video to import IIF file data into QuickBooks Desktop.
For any queries, comment below or connect with us.
In this video we will show you how to upload your shopify transactions.
After we have completed the integration of your Shopify store and download
platform and its status being “active”, you can upload your transactions from
Shopify directly to the platform. In order to do so go to transactions section.
Here your transactions will be stored after you upload them. To do so
choose “add transactions”, select your store, and the necessary period for
which you want to upload your transactions. Click “Next” and after some time
depending on the amount of your transactions you will see them uploaded to the
platform. Showing such information like date and time, the country of the
transactions, its sum and the VAT amount.
From this moment, if you have an active subscription you can file your
VAT return. It will be prepared by the platform according to your transactions,
the country where you need to report and the necessary period.
How to fill in sections Store and Tax settings. In this video we will show how to fill in such sections as store and tax setting. First of all, make sure that you have filled in your company profile. Please, check if you set the correct country in the section "domestic country". That means the country where your company is established. As the transactions will be VAT counted according to your domestic country. For example, in the USA you have to choose also the state, zip code and address. For the UK you have to choose the state also ( England or Nothern Ireland). The next section is "Tax settings" where you have to fill in the information about your company and VAT tax. You need to add all your current VAT numbers. It takes some time for activation of your digital VAT numbers. Please, make sure that you have updated all your required VAT numbers because missing information may cause mistakes in VAT counting and VAT reporting. Also we have thre more reasons for registartion in the section ''Tax settings". The first one - is the Online Market place, the second- is the OneStopShop starting from the first of July 2021, the third- is the Import scheme for import registration. Note that for some countries you will need VAT represenative. Chooseing LOVAT as VAT representative the price will b added to your standard price. Also you can calculate how close you are to the thresold of all the countries you sale to. You can order VAT registration. The section "Tax settins" is intended for american market only.
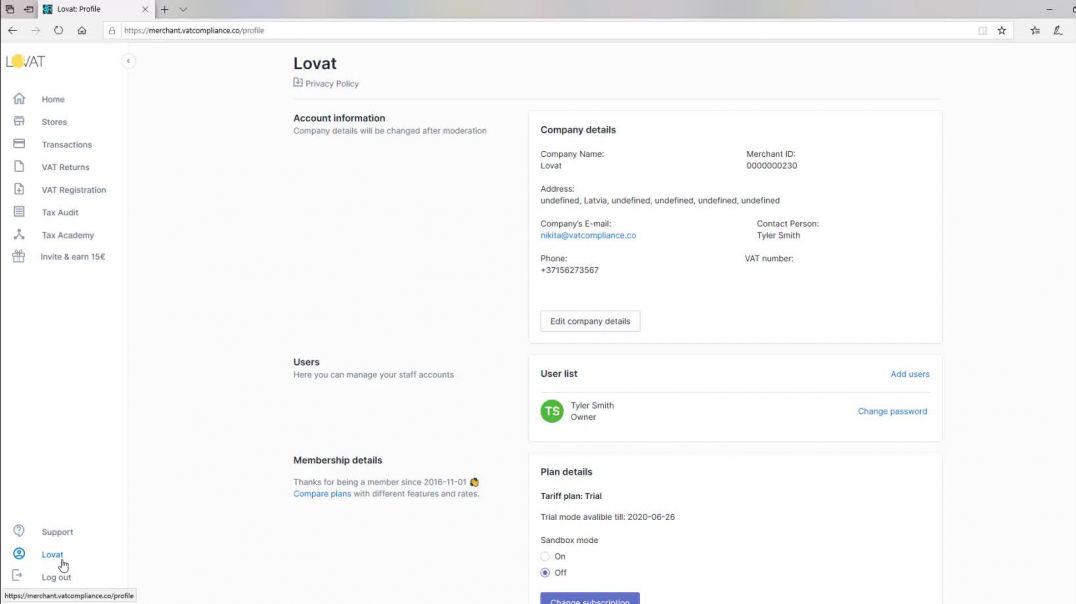
A guide of how to fill in a profile
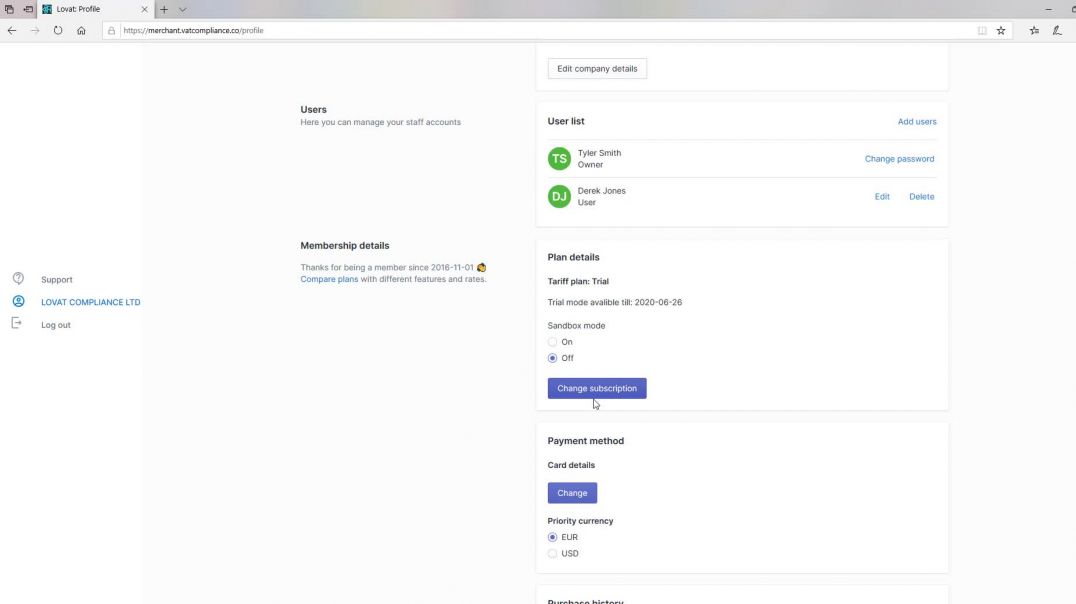
A guide on how to choose a subscription plan for account

Mobilesentrix offers 2UUL uuFilter Desktop Fume Extractor. This is powerfull Suction Instant Purification. Triple Filter Design like High Power DC Brushless Motor Air Volume, Long Life, Low Noice Design. Air Volume Adjustable Directional Fust Adjustment, Positioning Freely. 100-240v Power, 13in x 9 in x 6 in Packing size, 7.16 lb Weight. for more 2UUL Product visit Mobilesentrix.
